When press-on nails keep popping off, the useful question is not “How do I make the glue stronger?” It is “Where is the bond failing?” Fit, surface preparation, adhesive choice, water exposure and the shape of the press-on can all change how securely a set sits.
Work through one variable at a time. That makes it easier to improve the next application without piling on products that may not solve the actual problem.
1. The press-on is too narrow
A narrow press-on may look tidy from above but sit under tension across the nail. If the sidewalls do not fit naturally, the press-on can try to spring back toward its original shape and lift at an edge.
Recheck width with our nail measuring guide. A better-fitting size usually makes more sense than forcing a smaller piece because it appears slimmer.
2. The press-on is too wide or touching skin
A press-on that overlaps skin or the sidewall area does not have a clean nail surface underneath that edge. It can also feel uncomfortable when the finger moves.
If a slightly larger artificial nail is designed to be shaped, small adjustments may be possible at the artificial nail’s side edge. Do not file your skin or aggressively thin the natural nail to make an unsuitable size fit.
3. Lotion, oil or dust is still on the nail
Hand cream, cuticle oil and filing dust can interfere with some adhesive systems. Start with clean, fully dry nails and remove dust after any light filing.
The press-on prep checklist covers a simple routine without turning preparation into an unnecessarily harsh process.
4. The adhesive does not match the application
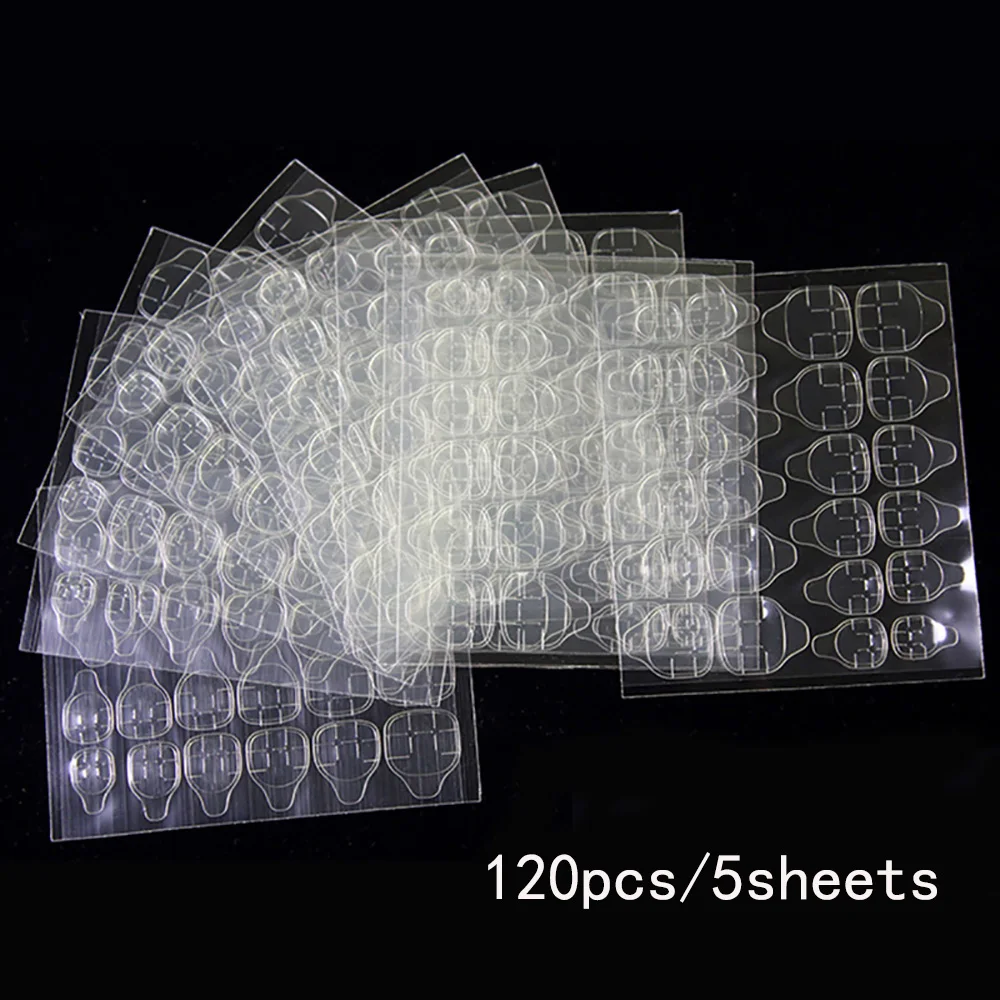
Adhesive tabs, liquid nail glue, pre-applied adhesive and light-cured gel products are not interchangeable. A product designed to cure under a lamp should not be treated like ordinary air-setting glue, and a tab has different placement needs from a liquid adhesive.
Use the exact instructions for the product you chose. Compare common options in our adhesive tabs vs. nail glue guide.
5. The adhesive is being applied unevenly
An attachment method may fail if only a small portion of the press-on makes effective contact with the natural nail. With tabs, choose the size and placement called for by the product. With glue or gel, use only the amount and method described by the manufacturer.
Do not compensate by intentionally flooding the cuticle or sidewalls. Excess adhesive on skin creates a different problem rather than a stronger manicure.
6. The nail was lifted and repositioned several times
Some adhesives lose effectiveness when the press-on is placed, lifted and moved repeatedly. Plan the alignment before firm contact: cuticle area first, sidewalls second, then press as directed.
If the nail is badly crooked, use the correct removal method and start again rather than repeatedly flexing it against a partially set bond.
7. Water exposure happened too soon
Follow the product directions for hand washing, showering or other water exposure after application. Even after the initial application period, repeated soaking and wet-dry cycles can affect some bonds.
Read our water and press-on nail guide for the practical differences between “can get wet” and “unlimited soaking has no effect.”
8. The press-on curvature does not match the natural nail well
Width is only one part of fit. A highly curved artificial nail on a flatter natural nail—or the reverse—may leave gaps or create pressure points even when the width looks correct.
If several sizes repeatedly lift in the same place, compare the side profile of the press-on with your natural nail. A different press-on shape may fit better than adding more adhesive.
9. The length is working against your routine
Longer nails can receive more leverage during typing, opening containers, fastening clothing and other everyday tasks. That does not make long press-ons “bad,” but it may change which length is practical for you.
Use the short vs. medium press-on nail guide to separate the length decision from the design decision.
10. One finger has a different fit problem
Thumbs, index fingers and pinkies do not always behave the same way. If one nail repeatedly pops off while the others stay put, troubleshoot that finger instead of changing the entire manicure routine.
Record the size used on that nail, where lifting begins and which adhesive you used. A small product-specific note can reveal a pattern after one or two applications.
Use the failure pattern as a clue
| What you notice | What to recheck first |
|---|---|
| Lifting at both side edges | Width, curvature and sidewall contact. |
| Lifting near the cuticle | Placement, skin overlap and prep residue. |
| Whole nail releases cleanly | Surface prep, adhesive placement and product instructions. |
| Only one finger fails | That finger’s individual size and daily use. |
| Problems start after soaking | Water exposure and the adhesive’s wear limits. |
Do not solve every lift by adding more adhesive
If a nail is lifting, do not keep forcing adhesive into a dirty or partially detached area. Follow the product’s removal guidance, inspect both surfaces and reapply only when the nail and press-on are ready.
If you see irritation, pain, discoloration, or another change that concerns you, stop using the product and do not cover the area with another press-on until you know it is appropriate to do so.
Build a repeatable routine
Start with fit and prep because those two variables influence nearly every attachment method. Then check the adhesive instructions and your daily wear conditions. That sequence gives you a much better troubleshooting path than guessing at a stronger product.
Next, read what actually affects press-on wear time or return to Nail Guides.