Press-on nail sizing is a width question, not just a small-medium-large label. Measure or compare each natural nail separately, then use the exact product’s sizing system to choose the closest fit.
Why each finger needs its own note
Your left and right hands do not always match perfectly. A useful sizing record lists all ten fingers rather than assuming the same number works on both hands.
Measure nail width with tape and a millimeter ruler
First check how the seller defines width. If the chart calls for measuring over the curve of the natural nail, a strip of clear tape lets you transfer that curved distance to a flat ruler. If the maker specifies a straight-across measurement or asks you to try on physical tips, follow that method for its chart.
- Lay a short piece of clear tape across the widest part of the bare nail. Smooth it along the curve so it touches the nail at the center and both sides.
- With a fine pen, mark the tape where the nail meets the skin on the left and right. Leave the skin outside the marks.
- Lift the tape and lay it flat. Line up the first mark with zero on a millimeter ruler and read the second mark. If the ruler has a blank margin before zero, start at the printed zero line.
- Record the finger, hand and width before you move on. For example, if the marks are 13 mm apart, record “left index, 13 mm.” Look up the size number for that width on the exact product chart.
If two readings disagree, check that the tape lies against the curve both times and that you marked the same part of the nail. If neither of two sizes looks right on the chart, try the maker’s sizing kit when one is available. For a maker’s illustrated example, see Mini Ami’s measuring directions.
Use the product’s chart, not a universal chart
A size number from one press-on brand may not equal the same width in another. Record the product name with your measurements or selected size numbers.
What if the press-on is too narrow?
A nail that is visibly too narrow may leave part of the natural nail uncovered or feel tight when forced into place. Do not solve that by pressing harder.
What if it is slightly too wide?
Follow the product’s instructions about sizing and filing. Some products may allow careful edge refinement, but that should not be assumed for every decorated or shaped nail.
Filing a finished design can change its edge or French-tip line.
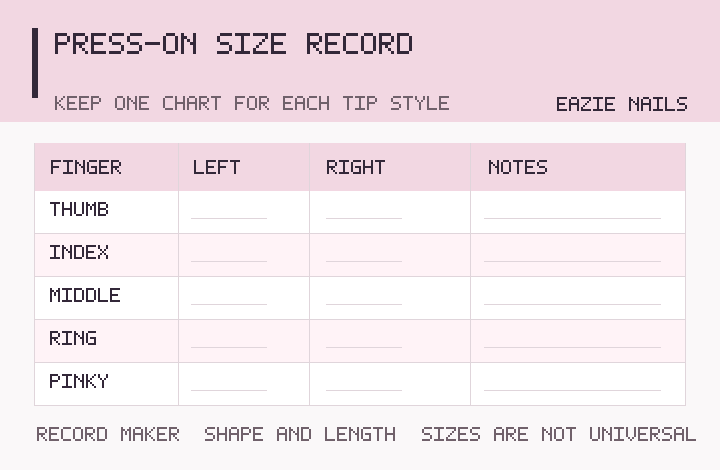
A ten-finger record is worth keeping
| Finger | Left hand | Right hand |
|---|---|---|
| Thumb | Record width or product size | Record width or product size |
| Index | Record width or product size | Record width or product size |
| Middle | Record width or product size | Record width or product size |
| Ring | Record width or product size | Record width or product size |
| Pinky | Record width or product size | Record width or product size |
Save the shape and length too
A useful note might say: “Brand/product name — short square — thumb size X, index size Y…” rather than saving size numbers alone.
That helps prevent a note from being reused with a different product that has a different sizing system.
Piece count does not equal size count
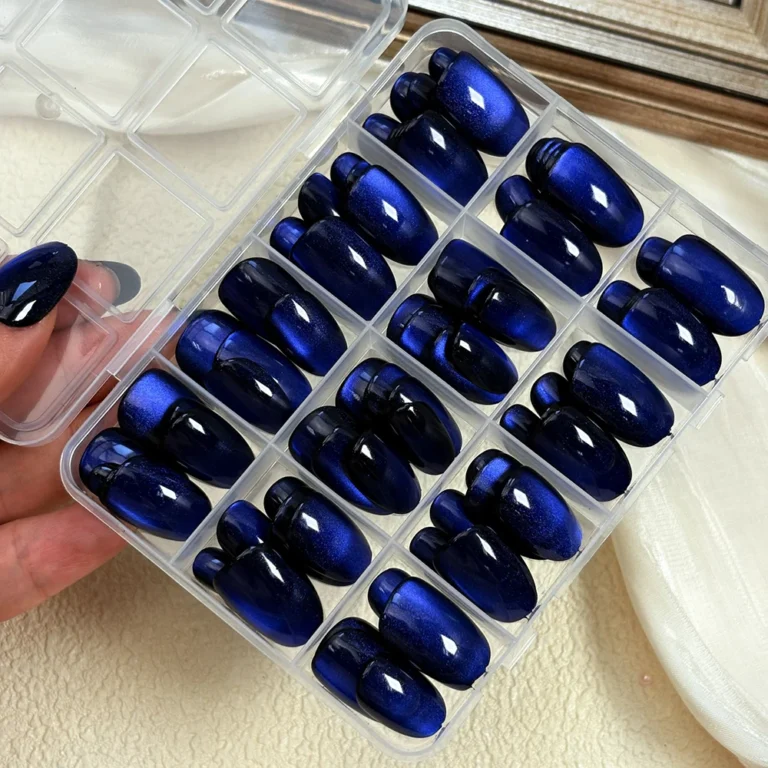
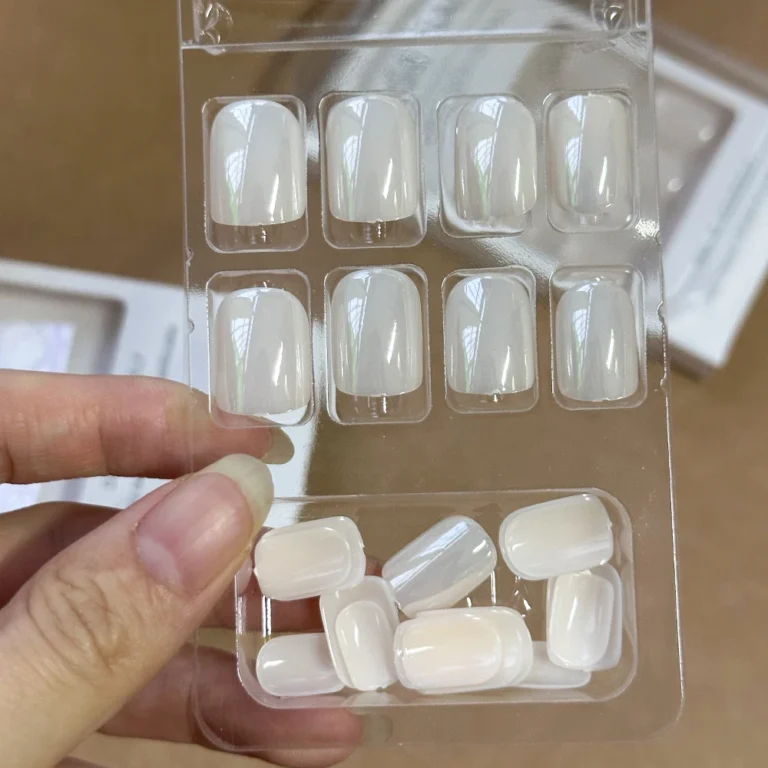
A 24-piece package can contain duplicate sizes. A larger assortment may include more pieces but still needs to be checked against your actual nail widths.
Start with the sizing information already available
Use Find Your Fit for our full checklist, then compare shape and length as separate decisions.
Measure first, adhesive second
Choose your sizes before you open glue or place adhesive tabs. That keeps fit problems separate from application problems and makes the whole routine easier to troubleshoot.
The conversation