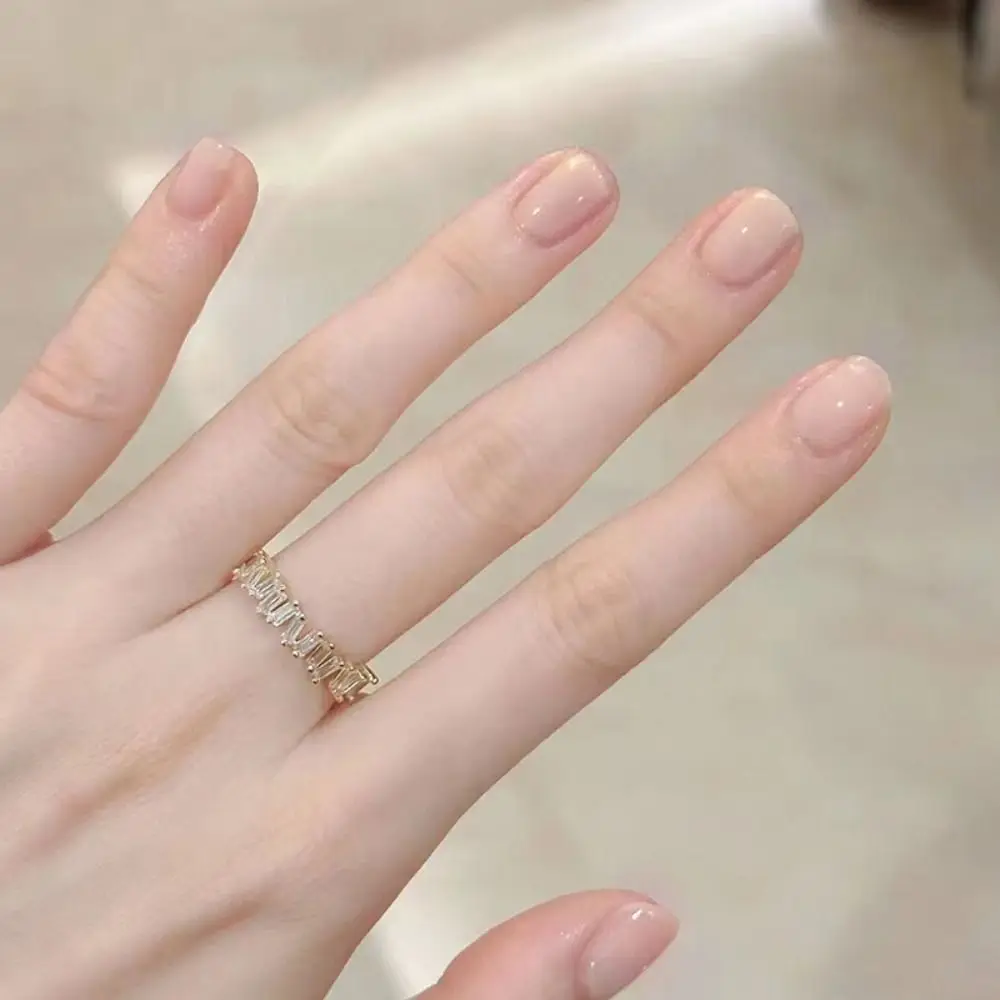
A good press-on manicure starts before the first nail touches adhesive. The most reliable routine is to size every nail, prepare a clean and dry surface, choose the attachment method the set is designed for, and place each press-on carefully the first time.
This beginner routine separates those steps so you can tell what actually needs attention. Always follow the instructions supplied with your exact nails and adhesive; the steps below are a practical framework, not a replacement for product-specific directions.
1. Size all ten nails before opening adhesive
Lay the press-ons over your natural nails and choose a piece for each finger. The press-on should cover the nail plate from side to side without sitting on surrounding skin or needing to be forced into the sidewalls.
If you are between sizes, do not assume the tighter option is better. A piece that pinches or rides on skin can create lifting and discomfort. Use the press-on nail measuring guide and keep the Eazie Nails fit checklist nearby if width is difficult to judge.
2. Arrange the nails in finger order
Before prep, place the selected nails in a row from thumb to pinky for each hand. This simple step prevents you from searching through the box after the nail surface has already been cleaned.
If the set has similar-looking sizes, write the size numbers down. Product-specific fit notes make the next application faster and are more useful than assuming the same number will fit the same way in every brand or shape.
3. Prep clean, dry natural nails
Wash and dry your hands, remove lotion or visible oil, and gently tidy any loose cuticle tissue that would sit beneath the press-on. Smooth a rough free edge only when necessary. The goal is a clean surface and clear placement area—not aggressive filing or thinning of the natural nail.
Our complete press-on nail prep checklist explains each part in more detail. If you file during prep, remove the dust before moving to adhesive.
4. Choose the attachment method before you begin
Adhesive tabs, traditional nail glue, pre-applied adhesive and light-cured gel systems are different. Use the method intended for the exact nails you are wearing and follow its directions for quantity, positioning and cure or hold time.
If you are deciding between common press-on options, read adhesive tabs vs. nail glue. Eazie Nails currently previews Eazie Tabs for a glue-free attachment option.
5. Keep adhesive on the nail—not the surrounding skin
Apply adhesive only as directed. More product is not automatically a stronger application. Excess liquid or gel can squeeze beyond the edge of the press-on and contact skin.
For light-cured products, use only a compatible nail and lamp setup where curing light can adequately reach the product. Review our Product Safety & Use guide before using nail adhesives or UV/LED products.
6. Line up the press-on before making firm contact
Start by checking the cuticle-area alignment and sidewalls. Place the press-on on the natural nail rather than on skin. Once the position looks right, press according to the adhesive instructions.
Avoid sliding the nail around repeatedly after adhesive has made contact. Repositioning can weaken some attachment systems and can also move adhesive toward the surrounding skin.
7. Press for the required time
Different adhesives call for different hold times. Treat the product directions as the reference rather than using one universal countdown for every manicure.
Apply steady, controlled pressure instead of squeezing so hard that the nail bends. If adhesive escapes around the edge, follow the product’s cleanup directions rather than trying to seal it under the press-on.
8. Give the manicure the recommended settling time
Do not immediately pry at the edges to “test” the bond. Follow any product instructions about hand washing, showering or other water exposure after application. Water and repeated wet-dry cycles can affect some adhesive systems, especially when the bond is still new.
For more detail, see can you shower with press-on nails? and our guide to what affects press-on wear time.
A quick application checklist
| Before you continue | Check this |
|---|---|
| Fit | Every press-on covers the nail without pinching or overlapping skin. |
| Prep | Nails are clean, dry and free of filing dust or lotion. |
| Adhesive | You are using the attachment method intended for the product. |
| Placement | The nail is aligned before firm pressure is applied. |
| Skin | Adhesive has not been intentionally spread onto surrounding skin. |
| Aftercare | You know any wait-time or water-exposure directions for the adhesive. |
If one nail goes on crooked
Do not forcefully twist or pry it off. The right correction depends on the adhesive system. Follow the removal instructions for that product, clean and inspect the press-on and natural nail, and reapply only when both are ready.
For gentle removal guidance, see how to remove press-on nails without forcing them off.
Keep the routine simple
A strong application routine is not a race to add more products. Prioritize correct fit, clean and dry nails, a compatible adhesive and careful placement. Those basics are easier to repeat and easier to troubleshoot if a manicure does not wear as expected.
Browse Nail Guides for the next step in your routine or explore the current Eazie Nails shop.

The conversation