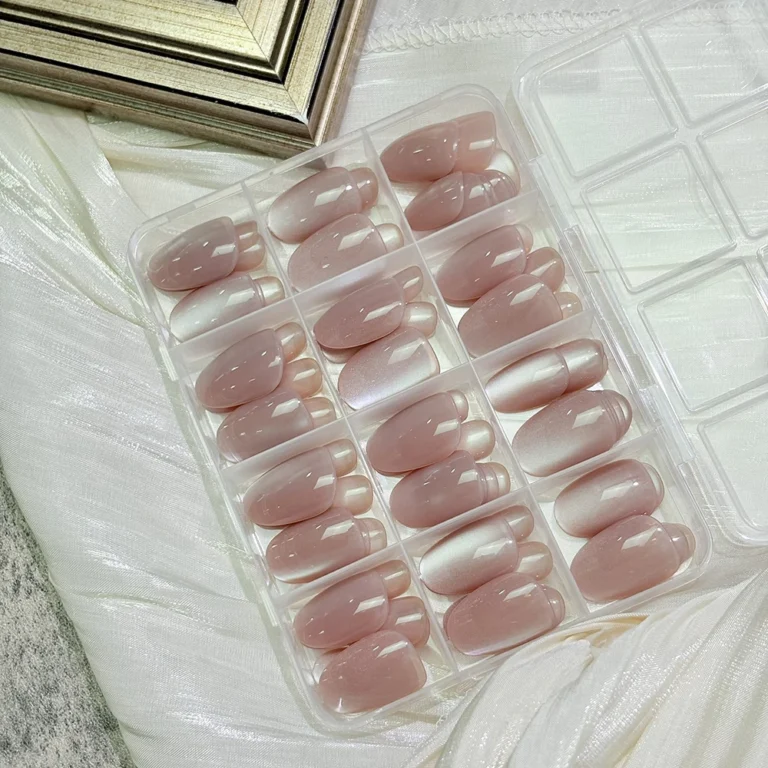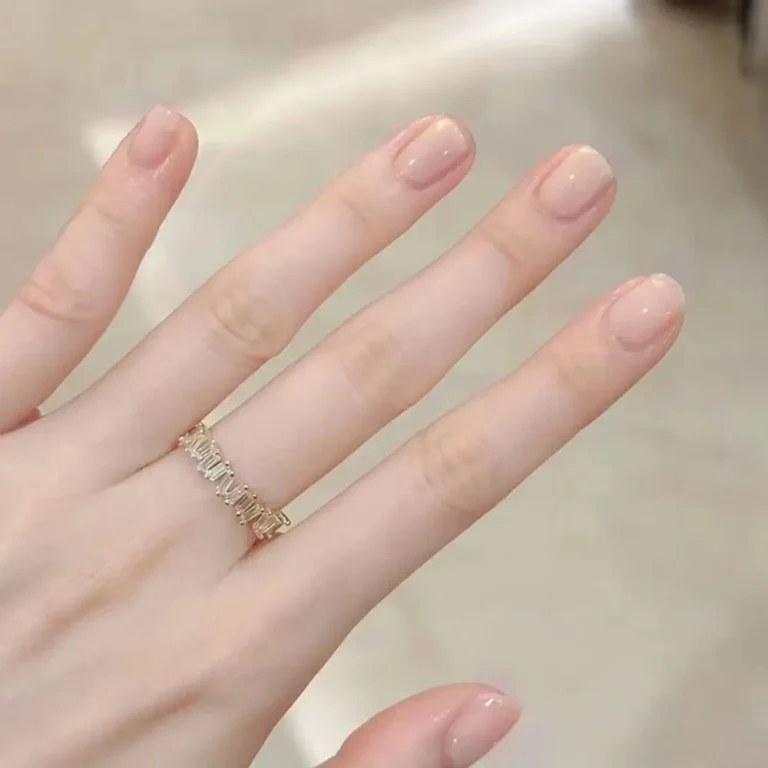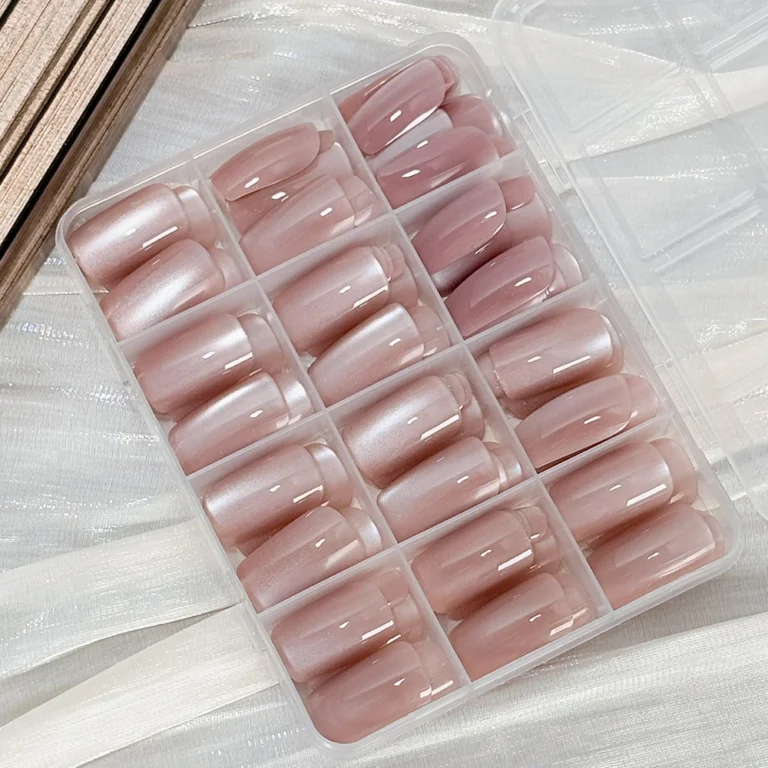
You do not need a crowded manicure cart to start wearing press-on nails. A suitable set, the correct attachment method, a clean prep routine and a way to handle small fit adjustments are enough for most beginners.
The exact tools depend on how your nails attach. Build the routine around the product instructions instead of buying every accessory you see online.
Start with the press-on set itself
Choose a set with enough sizing information to find a comfortable fit. Fit comes before color because a beautiful design that pinches or overlaps skin is not a useful first set.
Read our first press-on nail buying guide for the full shopping checklist.
You need one compatible attachment method
Depending on the product, that may be adhesive tabs, traditional nail glue, pre-applied adhesive or a compatible light-cured system. You do not need all of them at once.
Compare common options in adhesive tabs vs. nail glue.
A basic prep routine matters more than a long product list
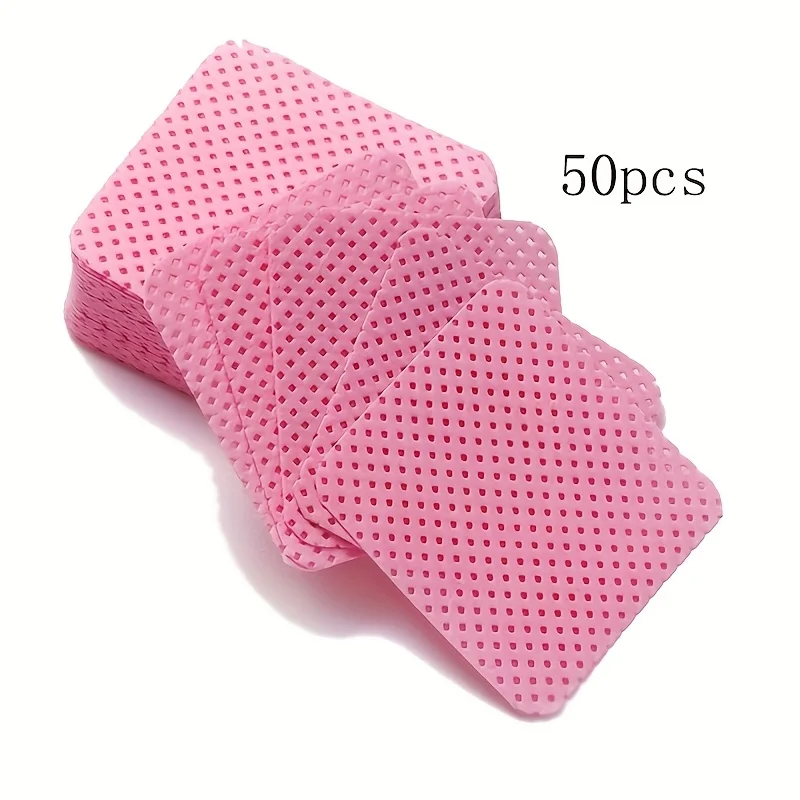
Clean, dry nails and correct fit are the foundation. A lint-free wipe can help remove dust after light filing, and a wooden manicure stick can help with gentle prep when used appropriately.
Eazie Nails currently previews Eazie Prep Wipes and Eazie Prep Sticks.
A nail file is useful for small artificial-nail adjustments
A file can smooth a free edge, soften a corner or make a small adjustment to an artificial side edge when the product permits it. It should not be used aggressively on the natural nail.
See our nail-file grit guide before choosing a coarse or fine abrasive.
Optional tools depend on your routine
A buffer, dust brush, removal clips or curing lamp may be useful in some routines, but none is automatically required for every press-on manicure.
A curing lamp, for example, is only relevant to compatible light-cured products. It is not needed for adhesive tabs or ordinary nail glue.
Beginner kit checklist
| Item | Essential? | Why |
|---|---|---|
| Press-on set | Yes | The actual nails, with suitable sizing. |
| Compatible adhesive | Yes | Required unless adhesive is already built into the product. |
| Basic cleaning/prep method | Yes | Helps start with a clean, dry nail surface. |
| Nail file | Useful | For small artificial-edge adjustments. |
| Lint-free wipe | Useful | Helps remove dry dust without loose fibers. |
| UV/LED lamp | Only for compatible systems | Not a universal press-on tool. |
Do not buy removal products without checking compatibility
The correct removal method depends on the adhesive and nail product. Read those directions before buying a solvent or soaking accessory.
Our gentle removal guide explains why forcing a nail off is not the right shortcut.
Build the kit after you learn your preferences
After a few applications, you will know whether you prefer tabs or glue, short or longer nails, and which small tools you actually use. Add products because they solve a real step in your routine.
Browse the current Eazie Nails shop or continue with how to apply press-on nails step by step.