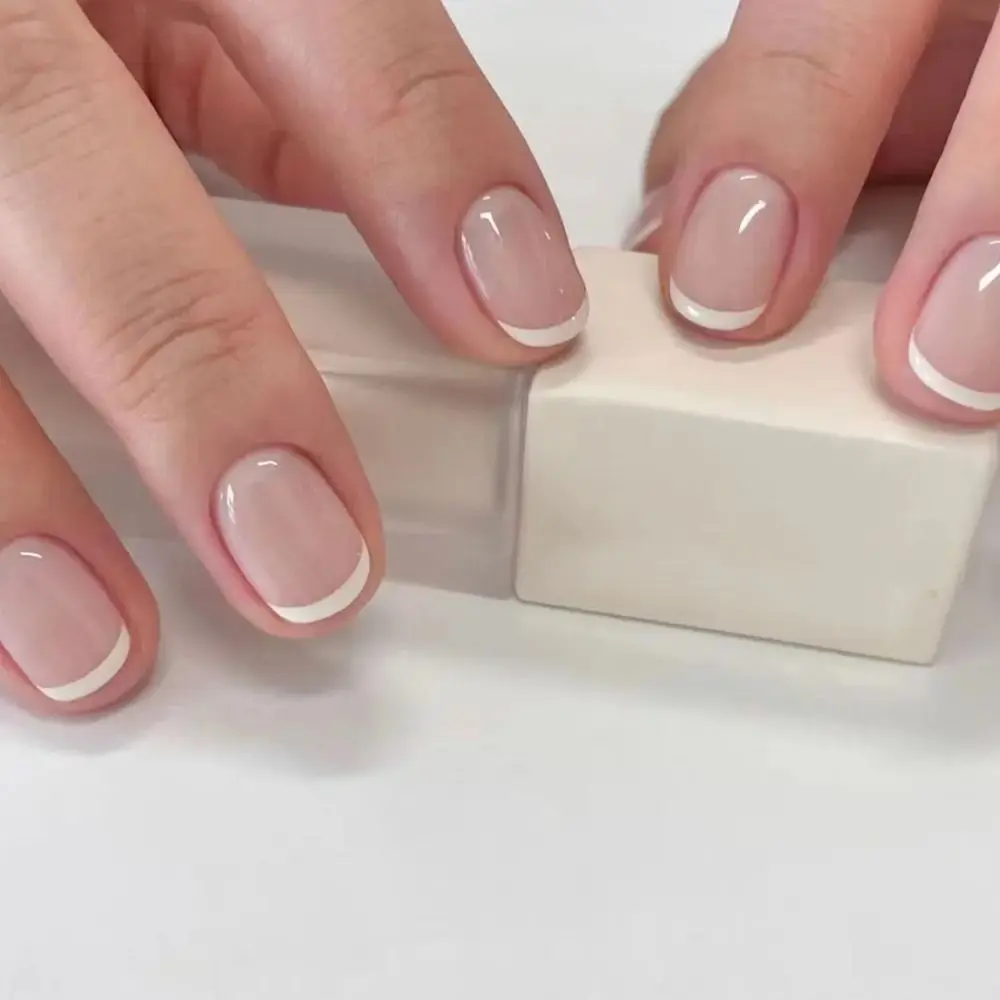
A press-on nail should rest over your natural nail without pinching, rocking, covering nearby skin or leaving obvious sections of nail exposed. Check the width, the curve from side to side and the shape near your cuticle separately. A tip can be the right width and still be the wrong fit.
Use this dry-fit routine before opening glue or peeling adhesive-tab backing. This guide covers how to judge a loose press-on, what different gaps usually mean and when to try a different size or collection rather than force one to fit.
What a good press-on fit looks and feels like
Look at the nail from above, from the fingertip and from the side. All three views answer different questions. The artificial nail should cover the natural nail plate across its width, line up near the base without lying on living skin, and sit comfortably on the natural nail’s arch. The tip’s length and artwork are separate style decisions.
| Area | What you want | What suggests a problem |
|---|---|---|
| Width / sidewalls | Coverage to both natural-nail edges without skin overlap | A strip of natural nail showing or plastic extending onto the side skin |
| Base near cuticle | Base follows the visible nail outline and clears skin | A corner presses into skin or the base will not align |
| Crosswise curve | The tip settles onto the nail without being forced | Center gap, raised side edges or rocking |
| Comfort | No squeeze, pinch or pain during a light dry fit | Pressure that disappears only when the tip is removed |
| Length and shape | A silhouette that suits the use you have planned | Length you cannot comfortably manage, even when the base fits |
A practical dry-fit routine for all ten nails
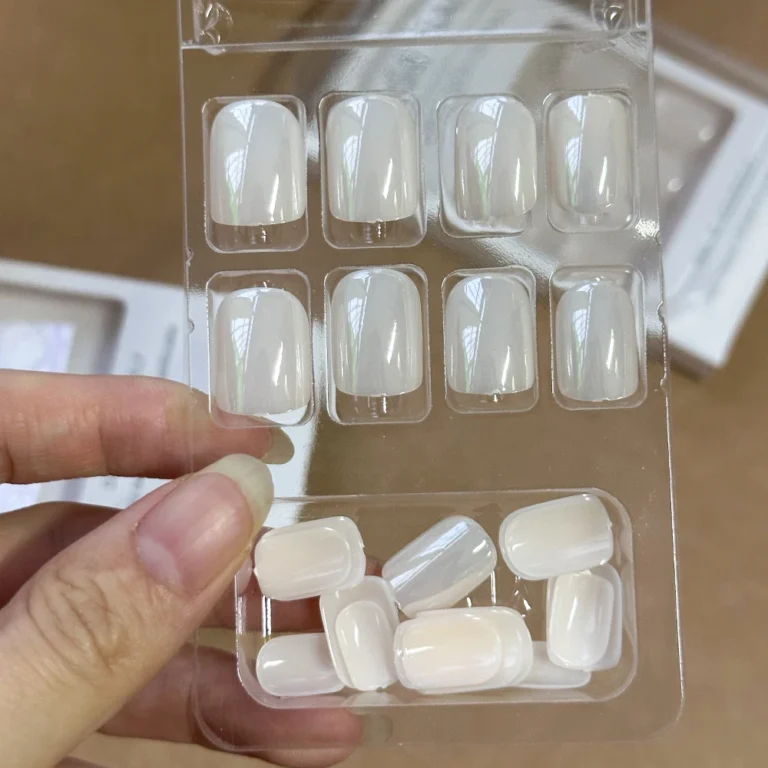
- Read the instructions for this exact set. Find the size markings, confirm which end faces the cuticle, and check whether the maker asks you to use its chart, a test-fit or a sizing kit. The marked end is not universal across brands.
- Lay out neighboring sizes. Choose the two closest candidates for one finger. Keep their numbers visible and the adhesive closed.
- Center a loose nail from above. Compare the natural nail’s left and right edges with the plastic sidewalls. Avoid judging the width with the press-on shifted to one side.
- Look from the fingertip. Notice whether the middle and both sides sit near the nail together. If only the center touches, or the two edges touch while the middle floats, the profile may be mismatched.
- Check the base and comfort. Align the correct end close to, but not on, the surrounding skin. No squeezing, pressing through pain or forcing the nail to flatten.
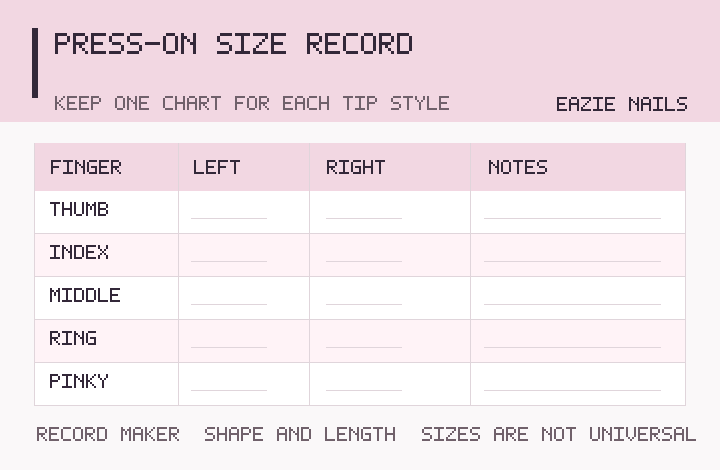
- Record the result for every finger on both hands. Left and right can differ. Save the collection, shape, length and size numbers with your notes; do not assume a different maker’s number means the same width.
The manufacturer’s instructions take precedence over a general sizing rule. For example, Glamnetic’s application directions discuss sizing up and refining an artificial edge when between sizes, while Olive & June’s sizing support emphasizes a snug unforced fit and gives different between-size advice. Do not transfer one brand’s filing or size-number rule automatically to another.
What to do when the width looks wrong
Natural nail still shows along the sides
First center the press-on; a shifted tip can expose one side and cover the other. If both sides still are not covered, test the neighboring wider size. A tip that must be spread or flexed outward is not a solution. See signs a press-on is too narrow.
The press-on extends onto side skin
Try a smaller piece and compare again. If the smaller piece is clearly too narrow, inspect the maker’s instructions before considering a very minor adjustment to the artificial edge. Some finished designs are not suited to filing. Never file down your own nail plate to compensate. See how to evaluate an overly wide press-on and the sidewall coverage check.
Correct width, wrong curve: rocking and gaps
Imagine a cross-section of the nail, viewed from the fingertip. A tip can measure correctly across its edges but have a different arch from the natural nail underneath. That is why trying more widths sometimes fails to fix a persistent gap.
| Dry-fit observation | Possible explanation | Better next test |
|---|---|---|
| Edges touch but center has a gap | The artificial tip may be too deeply arched | Try a shallower profile of similar width; see too-curved signs |
| Center touches but sides hover | The artificial tip may be too flat for the nail | Try a more curved profile; see too-flat signs |
| One side lifts when the other is touched | The piece may be off-center, too narrow or mismatched in curve | Recenter, compare adjacent widths and inspect the fingertip view |
| It sits flush only with force | There may be an uncomfortable size or profile mismatch | Stop; use a different size or tip mold rather than more adhesive |
These are fitting clues, not a diagnosis from a photograph. For examples and a more detailed comparison, read our guide to press-on nail curvature. If a custom maker offers a physical sizing kit, that may let you check both width and profile before ordering.
How close should the base sit to the cuticle?
The base should visually follow the natural nail’s outline near the cuticle without pressing under or onto living tissue. There is no universal millimeter gap appropriate for every nail and product. Judge correct orientation, skin clearance and comfort before trying to make the manicure appear seamless.
When a corner digs into the skin but the rest of the nail fits, check that the piece is oriented correctly, then compare its base shape with the neighboring size or a different collection. Our cuticle-area positioning guide covers this separately. The American Academy of Dermatology also cautions against trimming cuticles because they protect the surrounding tissue.
What if the fit hurts, or your nails are already irritated?
Remove a loose tip that pinches or hurts rather than bonding it in place. Do not force an artificial nail to flatten, add excessive glue to fill a gap, or use a manicure to hide unexplained nail discoloration, inflammation or a suspected infection. For skin reactions or persistent nail problems, pause cosmetic application and seek advice from a qualified clinician. The AAD’s manicure safety guidance explains why pre-existing nail problems and reactions deserve attention.
Keep a size record you can actually reuse
A good note has ten finger-specific results, the product or maker, the shape or mold, and the length. Where provided, record width in millimeters alongside the number printed on the tip. A bare list such as “2-5-4-6-9” can be misleading if you forget which hand or collection it describes.
Use our reusable ten-finger size-chart guide, the measurement walkthrough, or the printable-on-page worksheet at Find Your Fit.
Before you apply
Confirm that every chosen piece is comfortable, covers the intended nail without skin overlap and matches the maker’s fitting directions. Only then proceed to nail preparation and the application routine. If the size range or curve information is missing from the Coming Soon collection, ask Eazie Nails about the exact option before planning a purchase.
The conversation