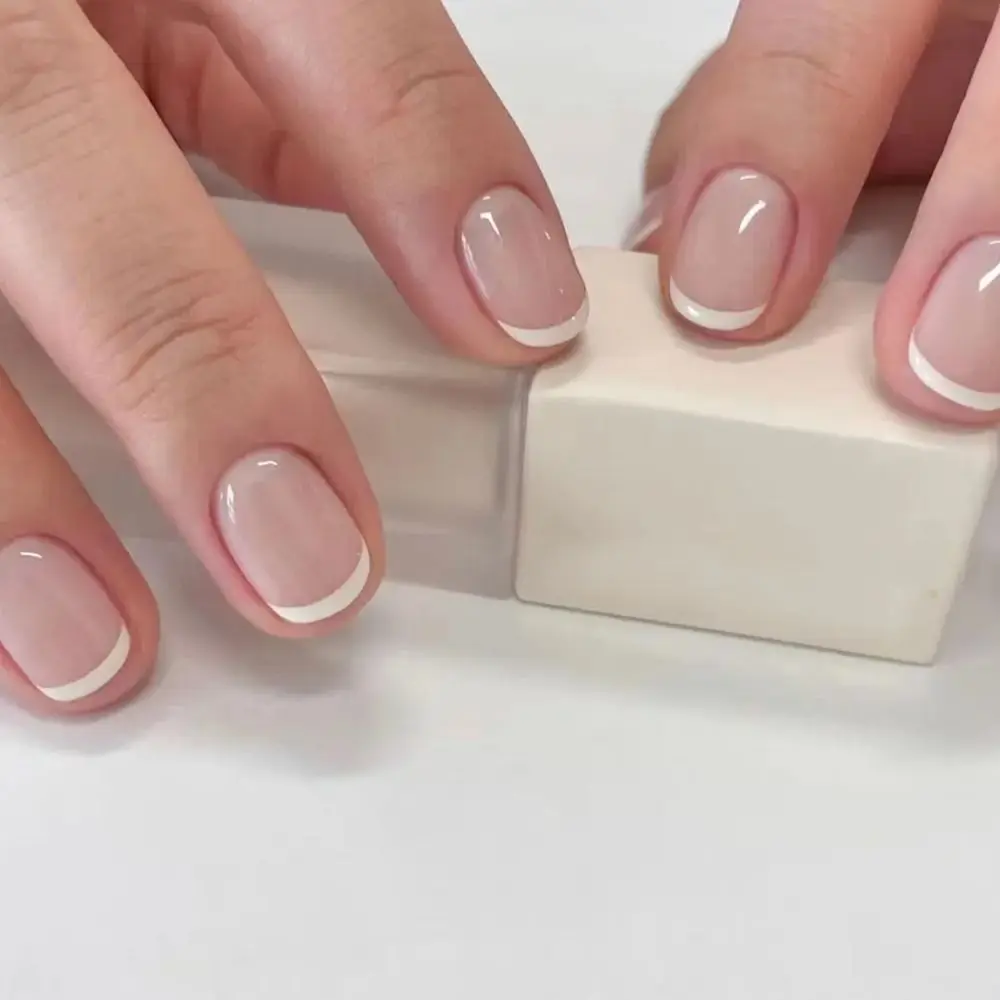
For your first press-on nails, choose the fit and a length you can picture wearing before you choose the colour. Then check the attachment method and everything included in the pack. That small change in shopping order can turn a page of pretty photographs into a useful shortlist.
You do not need to start with the most dramatic design or buy several sets to work out your preferences. A first set can simply help you discover which shape, length, and finish you enjoy. Here is a practical way to make that choice.
1. Describe the manicure you actually want
Start with the occasion, but include the ordinary parts of your day. “A neutral set for a weekend away” is a different brief from “a bold manicure for photographs” or “something I would like wearing while working at a keyboard.” Neither choice is better; each gives you a clearer way to compare products.
Write three preferences before you browse: the amount of length you want, the outline you like, and the mood of the design. For example: close to my usual length, a curved tip, and a soft pink. Keep those preferences flexible, but use them to stop a striking photograph from making every decision for you.
2. Give fit its own check
Find the sizing section on the exact listing. Look for a chart or explanation that tells you how the pieces are selected. Does the pack contain a range of sizes, or are you choosing a preset size option? Are the measurements understandable? Does the seller explain how to compare them with your nails? Use our fit checklist to organize those details.
Count and sizing are different details. Imagine two listings: one offers ten nails in a selected size combination, while another offers a mixed-size pack. Knowing the total number of pieces does not tell you whether either set includes the sizes you need. The useful information is the selection method and the measurements or fit instructions that go with it.
Keep fit notes tied to the particular product. Olive & June’s sizing guide recommends recording the number chosen for each nail. A note with the product name, shape, and your individual selections gives you a starting point when you return to that same set; it is not a universal size chart for every brand.
3. Compare length separately from shape
“Almond” tells you something about the outline; “short” tells you how the seller categorises the length. Neither replaces an actual measurement or a clear picture of the product on a hand. Read both parts of the description.
For a closer comparison, explore short versus medium press-on nails and our guide to almond, square and round shapes.
For a first experiment, consider staying close to the amount of length you already like. If you specifically want a longer look, choose it deliberately and picture how you use your hands. Think about typing, phone controls, fastening jewellery, and any dress or appearance requirements that apply to your work. A styling choice should make sense in the setting where you will wear it.
When comparing photographs, try to compare similar views. A close-up of one loose nail and a full manicure photographed from a distance can make length difficult to judge. Look for the dimensions and a straight-on image, then use the styling photograph to judge the design.
4. Know how the set attaches
Read the adhesive information before adding anything to your basket. A set intended for separate nail glue, a set used with adhesive tabs, and nails with adhesive already attached are different shopping choices. Check which system the product is designed for and whether the required adhesive is supplied.
For a concrete example, imPRESS’s own application guide describes removing a clear backing before positioning and pressing its nails. That illustrates a pre-applied adhesive system. It does not establish the right process for a different product.
You do not need a generic internet routine at this stage. You need clear instructions for the exact nails and adhesive you intend to use, including preparation and removal. If the listing leaves that unclear, asking a product question before ordering is a better next step than guessing which extra products will work.
5. Check the contents and the complete price
If a bundle photograph shows supplies beside the nails, use our press-on nail set contents checklist to separate items that are actually included from accessories that might be sold separately.
Make a short list of what the product includes. Nails, glue, tabs, a file, a prep item, and removal products should each be checked on their own. Do not infer the contents from props in a photograph or from a different set you have seen.
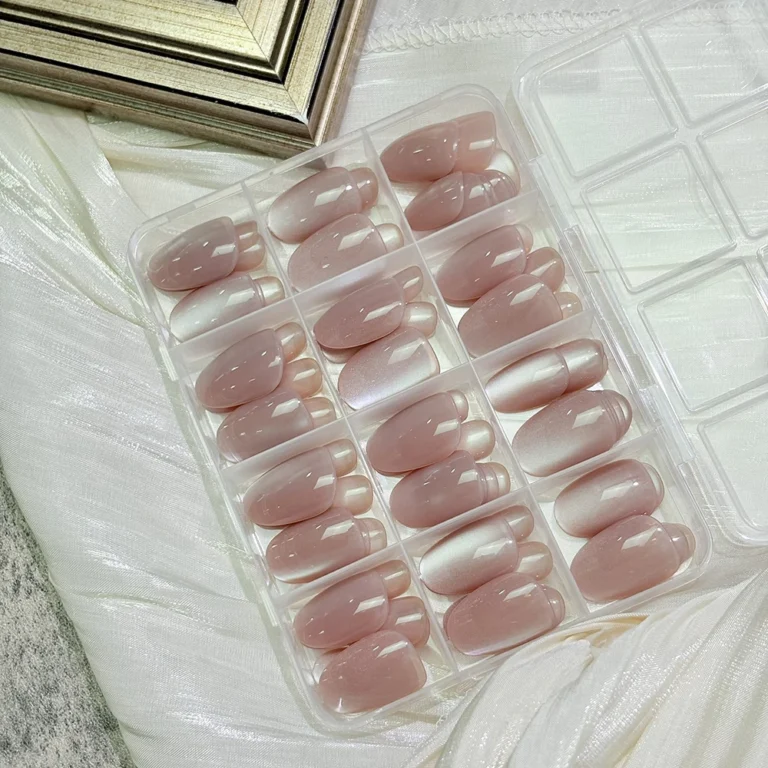
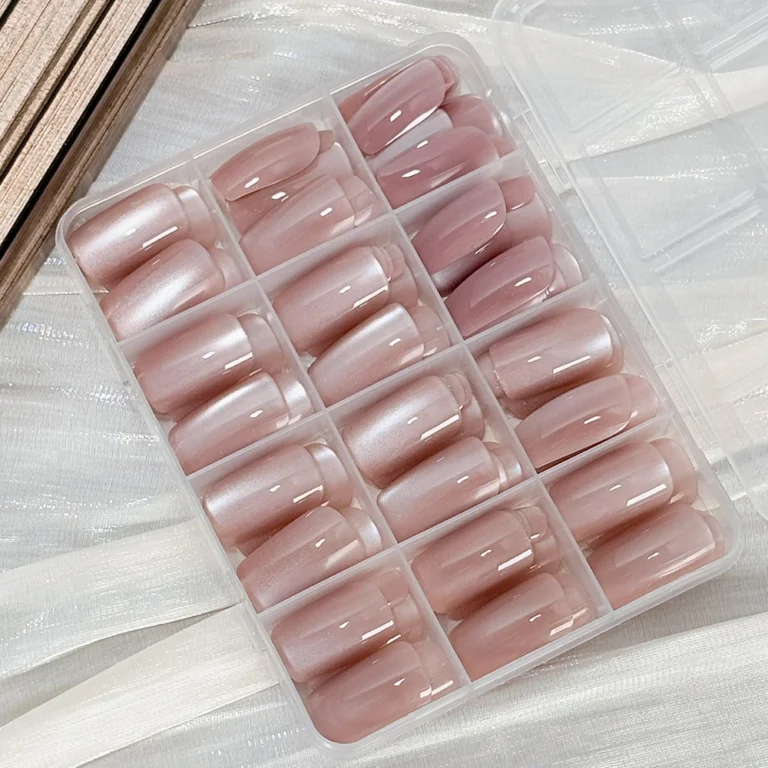
For a comparison of different pack formats, see the 24-piece and 144-piece examples in our pearl and shimmer guide.
Compare the total you would actually pay: the selected product option, any necessary items sold separately, and the delivery charges shown for your destination. A low headline price is not enough information if it applies to a different option from the one in your basket.
| Detail | What you want to understand |
|---|---|
| Fit | The sizing method and whether the pack supports your selection. |
| Length | The dimensions and the amount of length you want to wear. |
| Attachment | The intended adhesive system and its instructions. |
| Contents | Exactly which pieces, tools, and adhesive items are included. |
| Total | The price for your selected option and destination. |
6. Choose the design you will be happy to look at
Now return to the pretty part. Compare the base colour, the tip, and any accent separately. If you like a gentle look, ask whether the contrast is subtle enough for you. If you want a statement, decide which detail you want to stand out: colour, shape, length, or decoration.
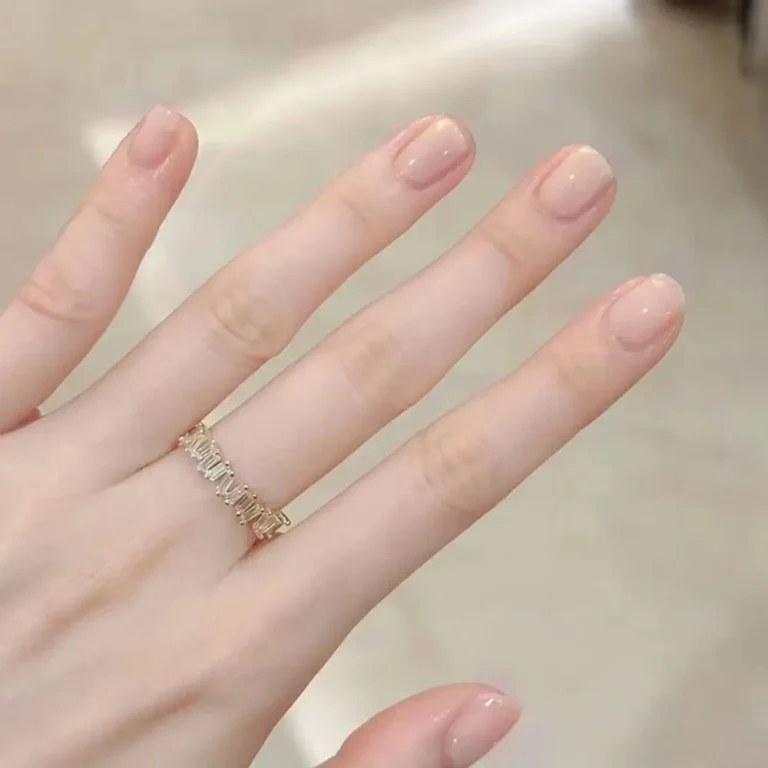
If a soft color is your starting point, compare ivory, sheer pink and blush press-on nails before choosing your shade.
A useful first purchase does not have to answer every styling question. You might keep the length familiar and try a new finish. Or choose a favourite colour in a different shape. Changing one main feature at a time gives you a clearer way to describe what you liked when you choose your next set.
Before you press “add to basket”
Save the exact product name and selected option. Recheck the size information, pack contents, and current delivery and return information. If anything essential is missing, pause and get that detail clarified.
Once the set arrives, compare the pieces and read the supplied directions before opening the adhesive or beginning application. Your purchase decision and the product’s application instructions are two separate steps.
You are ready to make a considered choice when you can finish this sentence: “I picked this set because I understand its fit, I want this length, and I know what I need to use it.” Keep our fit checklist beside your shortlist, or return to Nail Guides for your next question.
The conversation