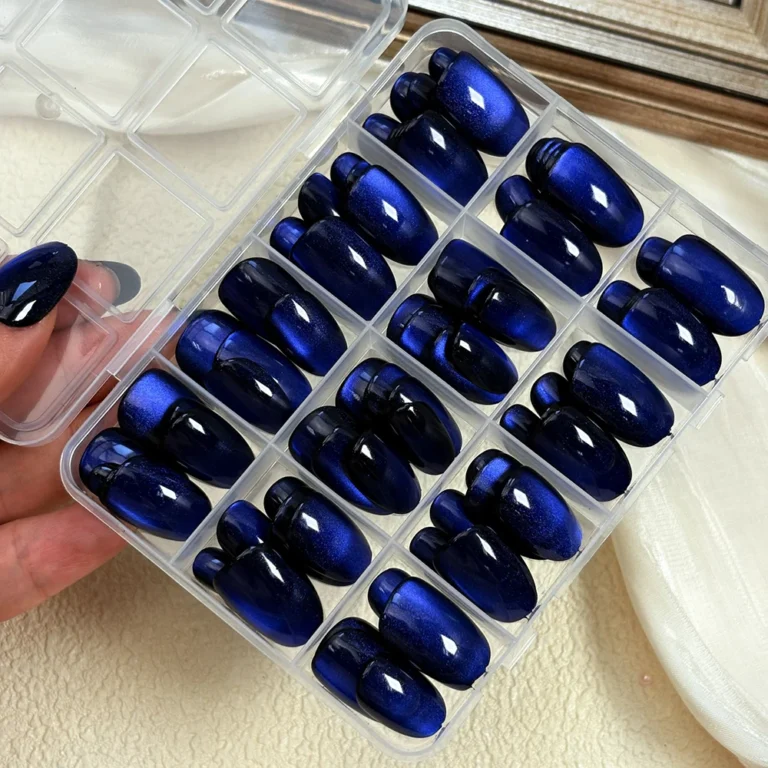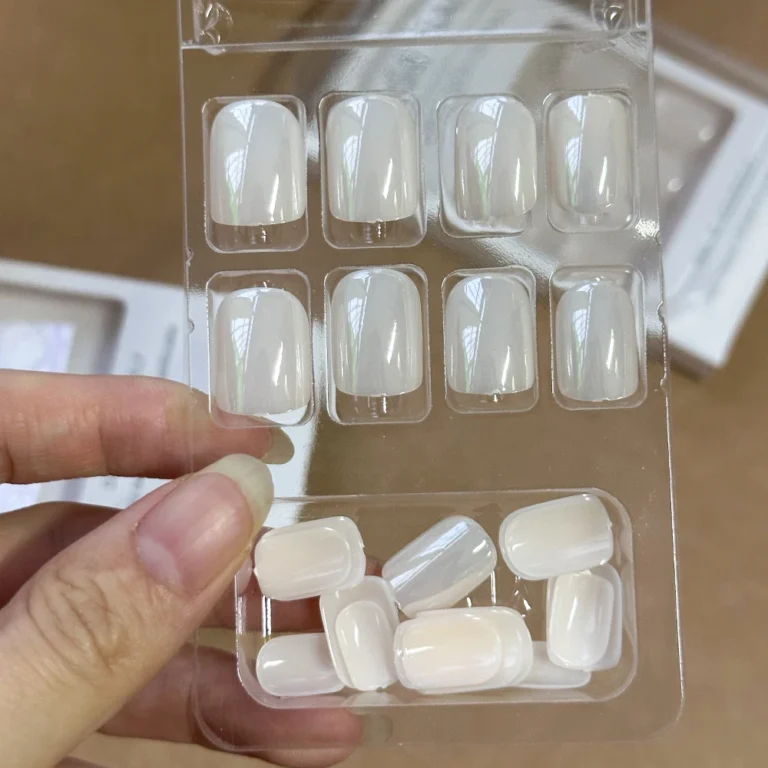
Your left thumb and right thumb do not have to wear the same press-on tip number. Natural nails can differ slightly in width, outline or curve across the two hands, and the way a particular artificial tip sits may differ too. Treat all ten fingers as separate fitting decisions instead of copying a five-number list from one hand to the other.
This matters most for custom sets with exactly ten finished tips: a comfortable sample on your left hand does not guarantee the matching finger on your right will fit the same size.
Start with the two thumbs, not an assumed mirror match
Choose two neighboring sample sizes for each thumb. Dry-fit the left thumb, then repeat with the right, without glue or exposed adhesive. Look straight down at sidewall coverage, then from the fingertip at the plastic’s crosswise curve. Finally check that the base aligns near the cuticle without touching skin.
You might find the same number works on both thumbs. Or you might need different sizes. Neither outcome is a failure: the purpose of a sizing check is to record the actual fit. Use the same routine for the other fingers.
What can differ between matching fingers?
| Feature | Example of a difference | What to check |
|---|---|---|
| Width | The right thumb needs the next wider tip | Does each side of the natural nail have appropriate coverage? |
| Base outline | One index finger has a more rounded visible cuticle-area shape | Does the tip clear the surrounding skin without a corner digging in? |
| Crosswise curve | The same numbered tip rocks on one finger but not the other | Do the center and side edges settle comfortably together? |
| Everyday wear notes | One finger experiences more repeated knocks at work | Does a fit problem exist during dry fitting or only develop during wear? |
Do a complete ten-finger dry fit
- Keep your product name, shape, length and manufacturer size chart alongside the sample pieces.
- Test left thumb through pinky, recording a tip number or measurement for each finger.
- Start again on the right thumb and finish on the right pinky. Do not copy a result without checking.
- If a nail looks correct from above but rocks, test its curve instead of assuming the next size number will solve it.
- Mark any uncertain result as uncertain. A too-tight piece should not be glued into place just to finish the chart.
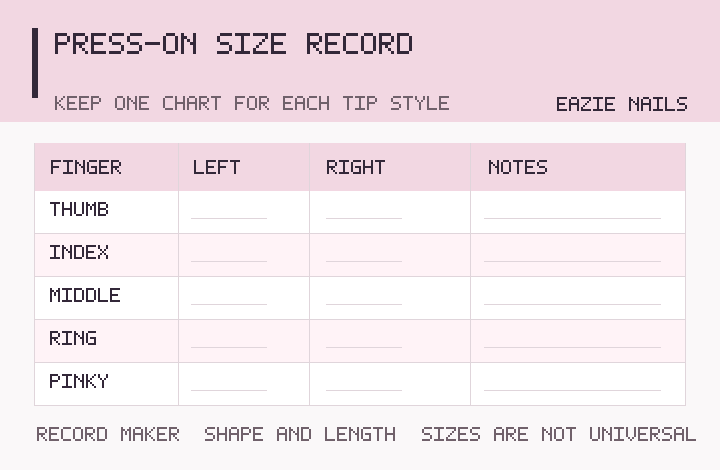
For the full test, open our dry-fit checklist. To save everything in a reusable form, use the ten-finger size-record worksheet.
Example: one thumb changes the order
Suppose a custom tip maker uses numbered samples. You record left thumb to pinky as 2, 5, 4, 6, 9 but the right thumb feels better in sample 1. Your two-hand note might read:
| Hand | Thumb | Index | Middle | Ring | Pinky |
|---|---|---|---|---|---|
| Left | 2 | 5 | 4 | 6 | 9 |
| Right | 1 | 5 | 4 | 6 | 9 |
This is an example of a note, not an Eazie Nails size chart or a conversion to millimeters. Follow the exact instructions supplied by the seller. For made-to-order nail sets, a physical sizing kit can be useful because you can test samples on both hands.
Don’t confuse a wear issue with a size difference
If a press-on seems comfortable during dry fitting but repeatedly comes loose later, fit is only one possibility. Surface preparation, adhesive instructions, water exposure and ordinary hand use may also matter. Compare the causes of press-ons popping off before changing the saved number. Keep that result in the notes column rather than declaring the opposite hand a new size without testing.
Manufacturers use their own size systems and molds. Glamnetic’s fitting instructions are an example of testing each nail before glue, not proof that its numbers match other makers. Recheck a set when changing brand, shape or collection, even if you liked your last result.
Save results that will still make sense later
Record the maker, exact product, shape/length, date, each finger on both hands and the reason any piece was rejected. If a nail pinches or needs force, do not use adhesive to hold it down. Once the fit is confirmed, continue with the Find Your Fit worksheet and the product’s own application instructions.