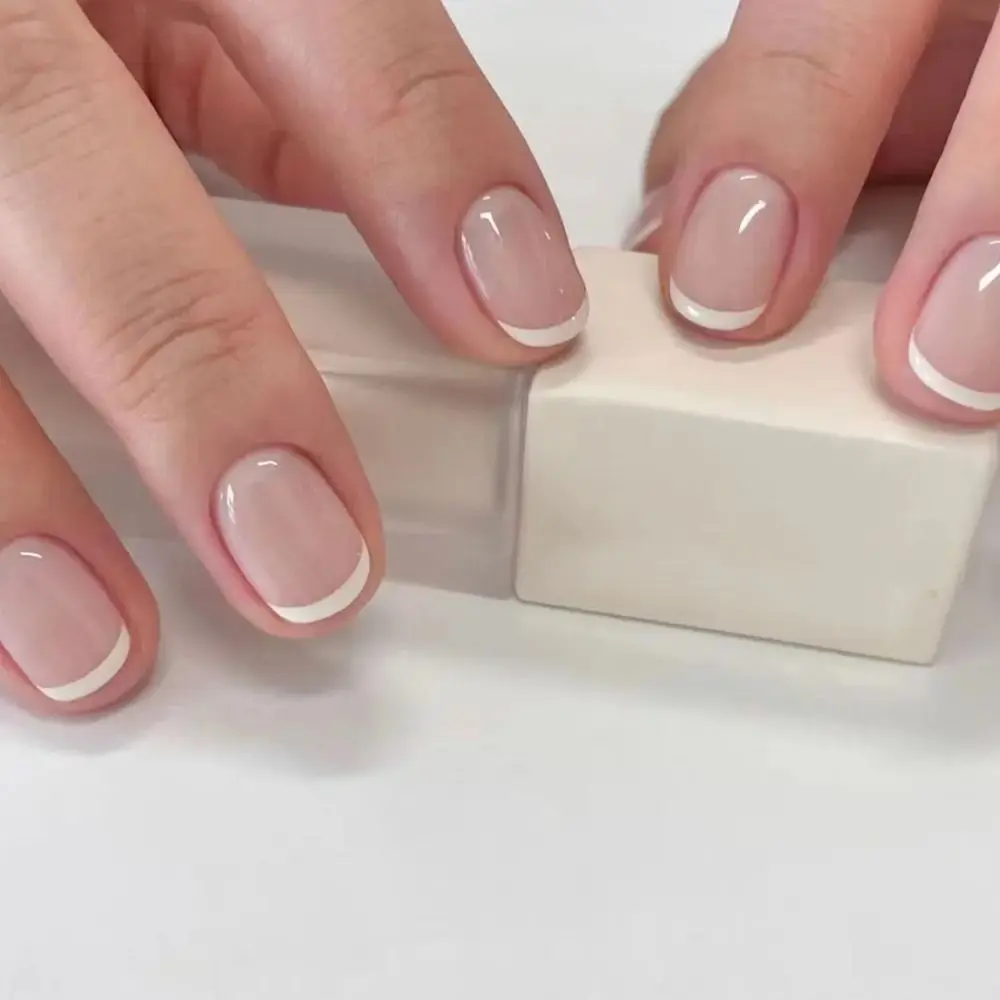
Place a press-on near the visible base of your natural nail, but do not push the artificial edge beneath the cuticle or onto living skin. The goal is a neat alignment that feels comfortable and lets the nail sit on the nail plate. There is no universal millimeter gap that works for every nail, tip shape or adhesive system.
Check this before opening glue or exposing an adhesive tab. A manicure that looks seamless from far away is not worth pressure against the surrounding skin.
First confirm which end belongs at the base
On an unfamiliar set, the printed size number is not always at the same end. Some products also use a clear pull tab to indicate orientation. Check the maker’s diagram, then use our guide to identifying the cuticle end if the shape is ambiguous. A tip placed backward can look as though the base curve will never fit.
How to position a loose press-on near the cuticle
- Choose and dry-fit the correct width first. The side edges should cover the natural nail without resting on adjacent skin. Use the sidewall check if you are unsure.
- Match the base outline. Rest the loose piece over the natural nail and compare the rounded or squared base with the nail’s visible growth line near the cuticle.
- Look for skin clearance. If any part sits on living skin or a corner digs in, do not push the tip farther back to hide the mismatch.
- Check the side profile. A tip with the correct base outline can still have an incompatible curve that leaves a gap or requires pressure. Compare curvature separately.
- Only then follow the product’s application directions. Do not assume all glues, adhesive tabs and pre-glued nails use the same placement angle or hold time.
What if the base leaves a visible gap?
A small visible margin can be preferable to pressing the artificial nail onto skin. Before assuming the nail is too short or too small, look at the shape of the base. Does it follow your natural nail’s outline? Is the tip centered? Does its curve settle comfortably?
Do not use an arbitrary fixed gap measurement from social media as a rule for every finger. The correct position depends on the exact product and your own nail plate. Glamnetic’s official fitting directions, for example, call for aligning near the cuticle while explicitly keeping press-ons off the cuticle and other skin.
What a mismatch can look like
| Dry-fit problem | Why it matters | What to try |
|---|---|---|
| One base corner digs into skin | The tip’s base outline or orientation may not match | Confirm direction, recenter and compare another size or mold |
| The artificial edge covers living skin | The contact is outside the natural nail plate | Move off the skin and reassess the base shape |
| The base sits well but sides lift | Width or curvature could still be wrong | Use the full fit checklist |
| A comfortable fit leaves a small visible margin | A perfectly invisible edge is not a universal requirement | Follow the maker’s placement directions without forcing a zero-gap look |
Don’t cut the living cuticle to make a tip fit
The cuticle protects the nail area. The American Academy of Dermatology advises against trimming cuticles because it increases the chance of infection. If a press-on’s base is incompatible, change the tip rather than changing healthy skin to match the plastic.
Do not bond a nail over inflamed, broken or painful skin. If redness, pain or an allergic-type reaction develops, stop using the product and seek appropriate medical advice.
Record the fit before adhesive
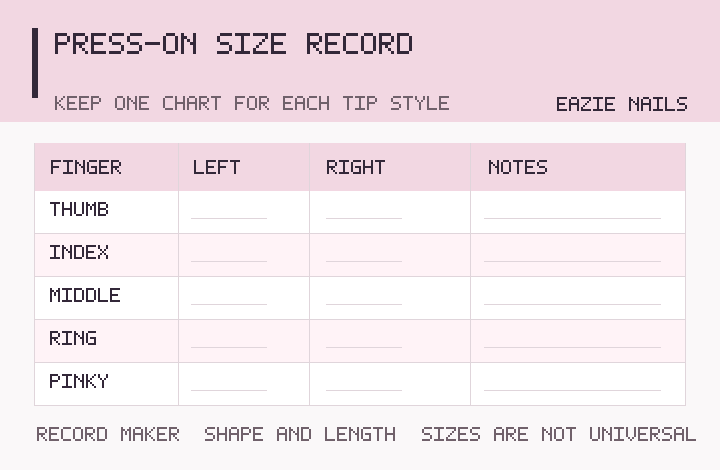
Keep a note of the size, collection and any corner or curve that does not align. Left and right hands may require different pieces. Use the ten-finger size record or the Find Your Fit worksheet, and follow the application guide only after the loose nails sit comfortably.
The conversation