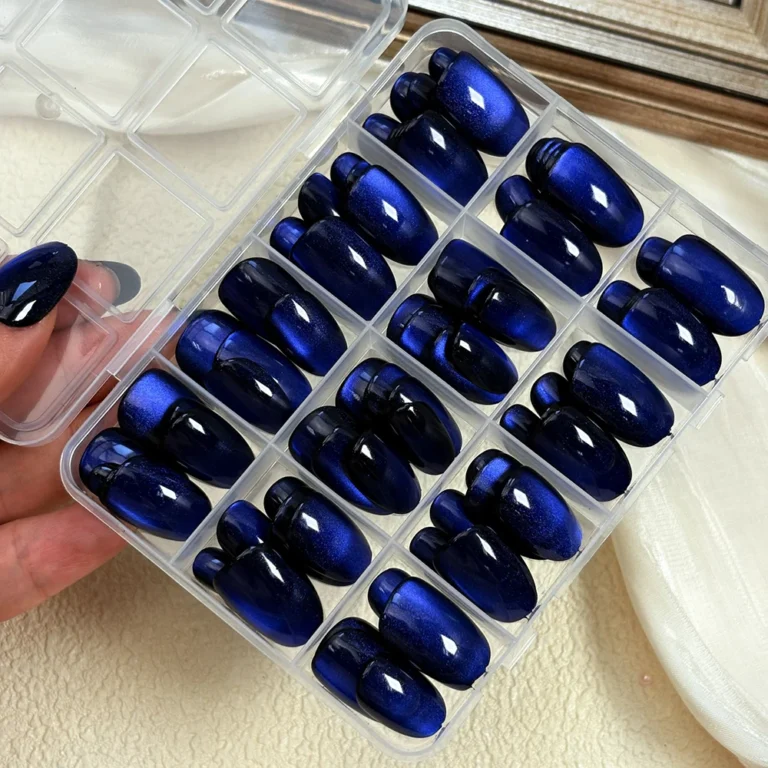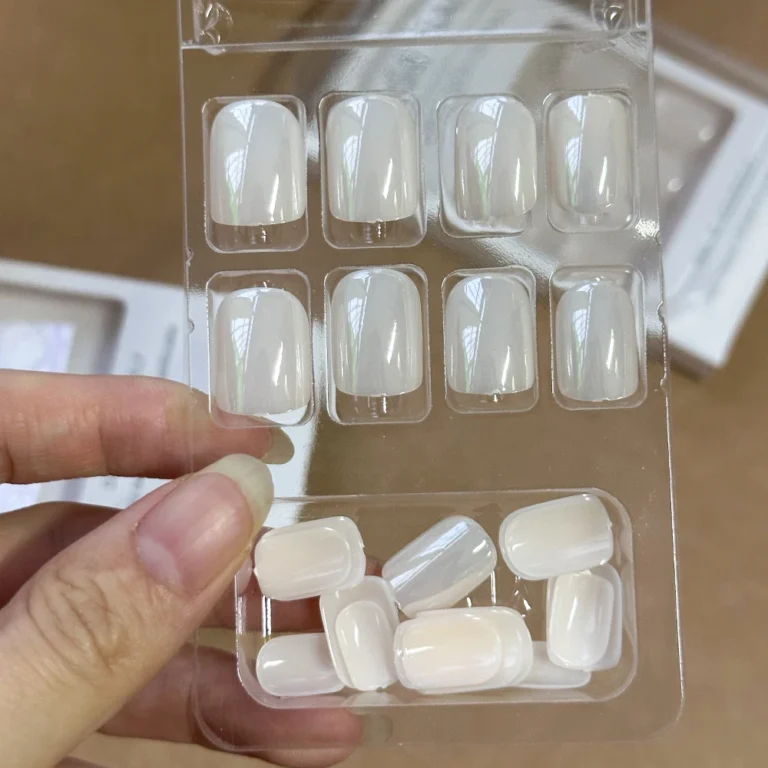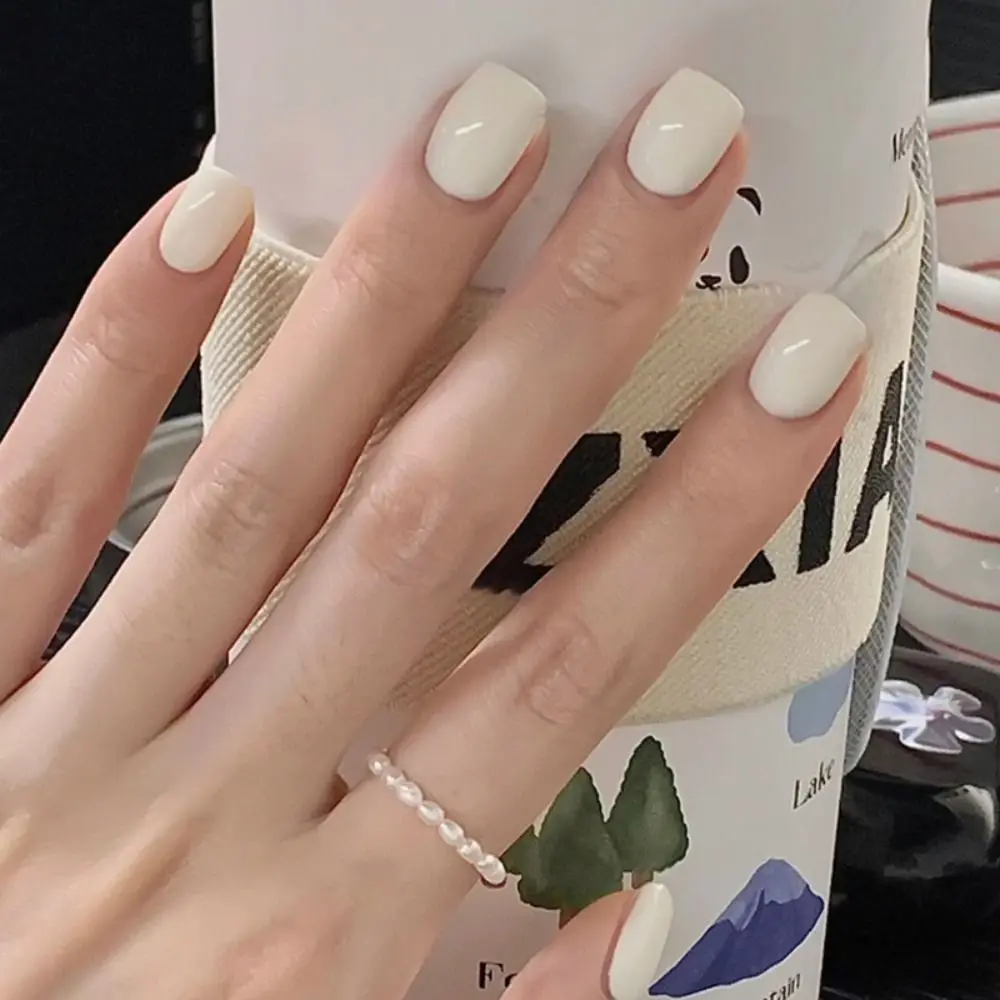
For narrow nail beds, look for a press-on that covers the natural nail without overlapping the skin or squeezing the sides. The smallest nail in the box is not automatically the best fit: a tip can be narrow but too flat, too deeply curved or shaped poorly at the base.
Here is a practical way to compare narrow-tip options, especially when several size numbers look similar on a product page.
Compare the natural nail’s edges with the artificial tip
Center a loose press-on over the nail without opening adhesive. From above, check whether the plastic reaches both sidewalls without touching the surrounding skin. If it reaches beyond the natural nail on both sides, try a narrower piece. If the narrower piece exposes natural nail, you may be between the supplied widths.
Then view the tip from the fingertip. A loose plastic shell can appear too wide or narrow when its curve does not follow your nail’s arch. The curvature guide shows how to separate this problem from width.
What to do when two adjacent sizes are both imperfect
| What happens | Practical next step |
|---|---|
| Larger nail slightly extends beyond the nail plate | Read the maker’s instructions about whether minimal filing of the artificial side edge is allowed |
| Smaller nail leaves a visible strip of natural nail | Do not stretch or flex it wider; test a different size or collection |
| Width looks right but side edges float | Compare a different crosswise profile before changing width again |
| Base corner presses into skin | Check orientation and base shape; reassess cuticle-area placement |
Do not file the natural nail plate thinner to make an artificial tip fit. Avoid heavy changes to decorated press-ons or the cuticle end unless the manufacturer specifically supports that adjustment. See the guide to slightly wide press-ons for conservative options.
Why a short set is not necessarily a narrow set
“Short” normally describes length beyond the fingertip, not the width of the artificial nail. An almond, square or oval label describes the outline, but does not prove the sidewall or base measurements. Read the actual size chart when available. A mixed-size box also does not guarantee that enough of the narrowest pieces will be present for your preferred fingers.
For first-time sizing, use our ten-finger width measurement routine. Keep each hand separate, since a matching finger may take a different size.
How to shop or order without guessing
- Find the seller’s exact nail-size chart, including its units and the range of pieces supplied.
- Check whether the sizes in the set suit all ten of your nails rather than only one narrow pinky.
- When using a made-to-order set, consider a physical sizing kit of the same intended shape and mold.
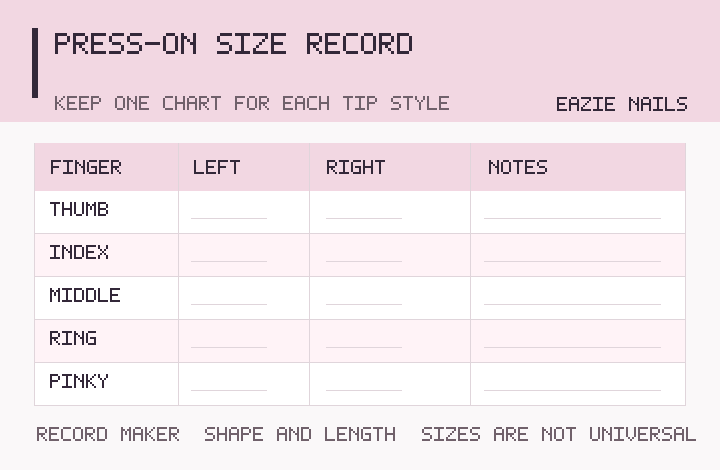
- Dry-fit each tip without adhesive and record which sizes fit, rock or pinch.
- Save the product, shape, length and size information so your notes remain meaningful for that set.
Some manufacturers advise different approaches for between-size fits. For example, Glamnetic discusses artificial-edge filing within its own system, while Olive & June gives product-specific sizing advice. Follow the maker of the nails you actually use.
Comfort is the final check
A nail should not feel pinched or require substantial pressure to sit against the natural nail. If you cannot find a comfortable match in the box, choose another mold or collection rather than bonding an unsuitable tip. The complete fit checklist covers width, base position, profile and comfort together.
Save your result in the ten-finger worksheet, then return to Find Your Fit for the whole pre-purchase checklist.