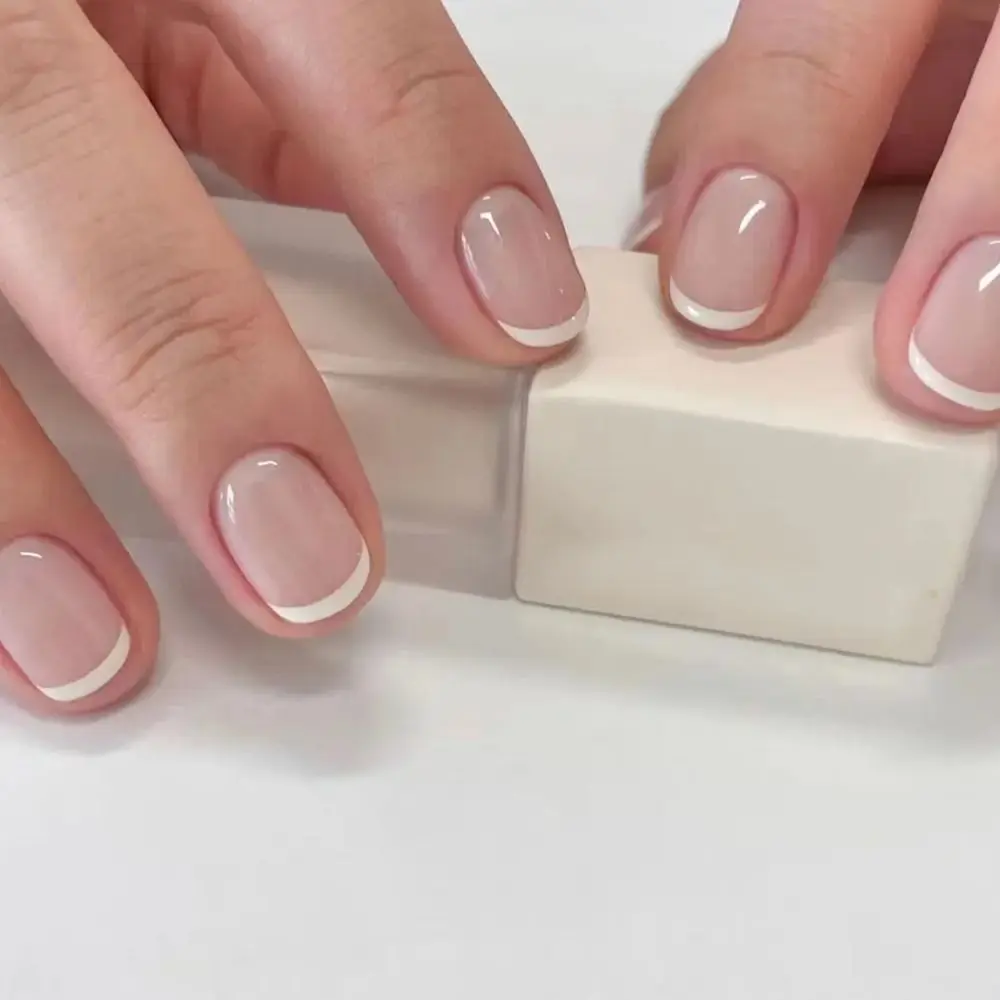
If you’re holding a loose press-on with a tiny number at one end, don’t peel the backing or open the glue yet. Whether that end faces your cuticle depends on the set. Two manufacturers give opposite instructions, and both make sense once you see what the mark is on.
Two sets, two different clues
| Set | What to look for | Which way it goes |
|---|---|---|
| Red Aspen Nail Dashes | A size number molded into the underside of the nail. | The numbered end points toward your fingertip, away from your cuticle. |
| Dashing Diva Magic Press | The clear pull tab on the adhesive backing. | The end with the clear tab faces your cuticle. Check its position before peeling it away. |
That distinction matters when you open a familiar-looking box from a different brand. On one set you’re looking at a mark on the nail itself. On the other, the backing gives you a placement cue that disappears when you remove it. See the diagrams in the Red Aspen application guide and the Dashing Diva Magic Press directions.
How to lay out an unfamiliar set
- Find one nail you can compare with the package diagram. Look for the line drawing of the fingertip or the step showing the backing coming off. Match the underside, the handle or the shape in the drawing to the piece you’re holding.
- Keep that piece in position while you sort. Lay it on a sheet of paper and write “cuticle” beside its base. Place the other nine with their bases pointing toward the same edge of the paper. On a plain short oval, both ends can look rounded once the piece is out of the tray.
- Check the fit before exposing adhesive. Rest each tip over its intended finger without pressing it into place. From above, the base should follow the outline at the base of your nail and clear the skin. If the instructions confirm the direction but one corner still digs in, put that nail aside and try the next size. Check how the base should sit near the cuticle.
What if there’s no diagram or you already removed the tab?
Use a second untouched piece from the same box as a reference. Hold the two side by side and compare their base and tip shapes. A classic French tip or a pointed almond end can help you match the pieces, but artwork alone is a poor clue on a reverse French or an all-over pattern.
If both ends still seem plausible, take a top and underside photo beside the box and ask the maker which edge faces the cuticle. If you’ve already attached a nail backward, follow the set’s removal instructions before starting again. Twisting a bonded nail around can pull on your own nail. Find the removal method for your adhesive.
Once all ten are facing the right way, you’re ready for the step-by-step application guide.

The conversation