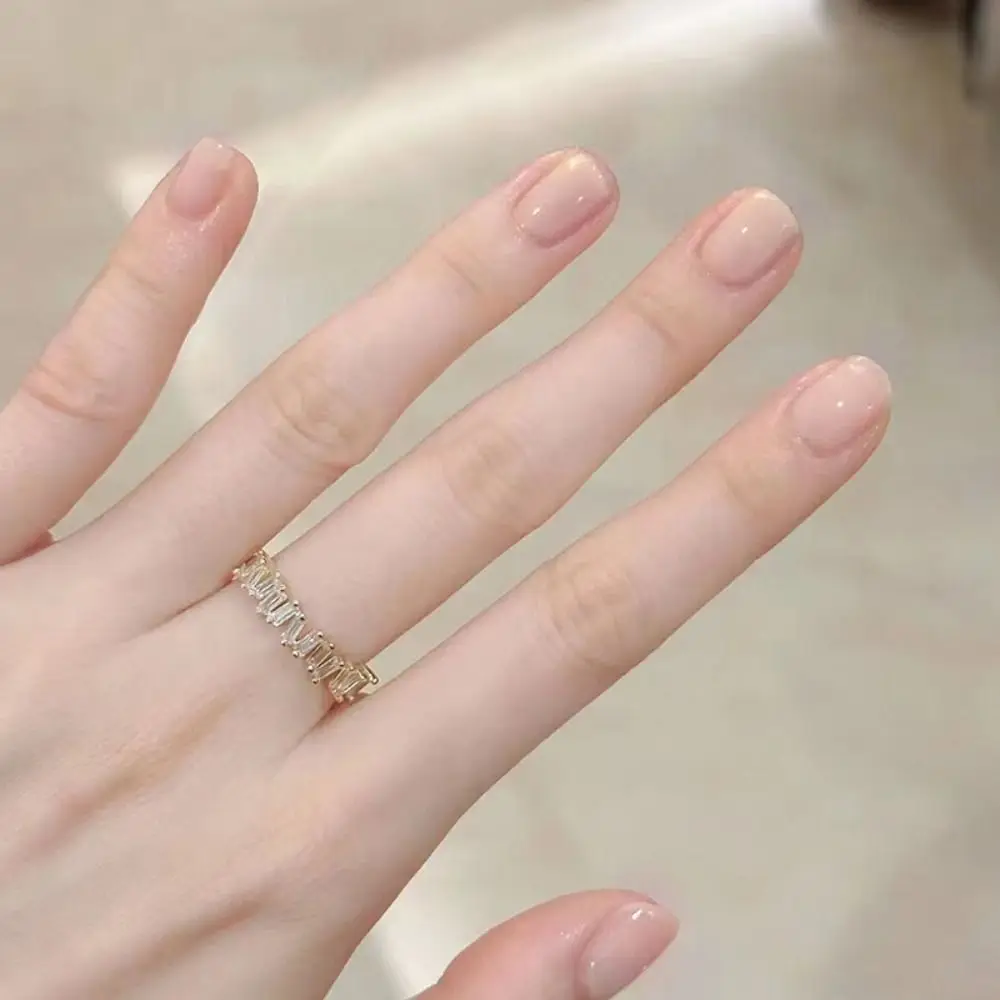
A well-fitting press-on should cover the natural nail plate from one sidewall to the other, but the plastic should not lie on the skin beside your finger. If you can see an exposed strip of natural nail, the piece may be too narrow; if the tip spills onto skin, it may be too wide. Center the loose nail before you make that judgment.
Sidewall coverage is one part of fit, not the whole decision. This guide focuses on what you can see at the two edges, how to check an uneven fit, and when a curvature problem is masquerading as the wrong width.
How to check coverage without adhesive
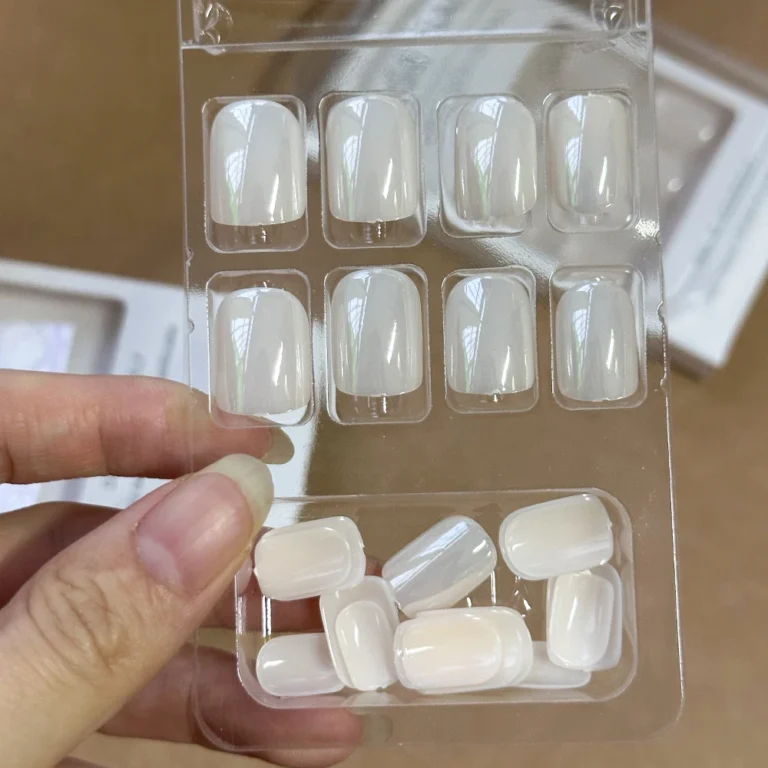
- Choose two neighboring sizes. Keep the product’s size numbers visible so you can compare them fairly.
- Center the first nail. Hold it loosely over the natural nail plate in the correct orientation, without pressing it onto the skin.
- Look straight down. Compare left and right. The artificial edges should reach the natural nail edges without touching the surrounding skin.
- Look toward the fingertip. Check whether the side edges are hovering because of a curve mismatch rather than ending too far inward or outward.
- Compare the second size. Do not choose based solely on one edge. Make sure the base and the crosswise curve are comfortable too.
Three patterns that are easy to confuse
| What you notice | Likely question | Useful next check |
|---|---|---|
| Natural nail shows on both sides | Is the press-on too narrow? | Try the next wider piece without stretching the plastic |
| Plastic overlaps the skin on both sides | Is the tip too wide? | Try a narrower piece; consider the maker’s rules for minor artificial-edge refinement |
| One side fits and the other misses | Is the tip off-center or the nail asymmetric? | Recenter, then assess the two sides separately |
| Edges are elevated although width looks correct | Is the profile too flat or too curved? | Check from the fingertip; compare curve patterns |
Why one exposed edge is not automatically a new nail size
If the plastic sits farther left or right, the uncovered natural nail might be a placement issue. Gently recenter the loose tip and look again. Some nails also have an uneven natural outline, so check whether a tip with the appropriate width and base shape can sit comfortably without crossing onto skin.
If no available size covers both sides without overlap, don’t force a smaller one and hope glue will stretch it. Another tip shape or collection may be a better fit.
If the size falls between two options
There is no one between-size rule that applies to every brand. Glamnetic describes sizing up and refining an artificial edge for its system, while Olive & June gives its own fitting advice. Follow the directions for the actual product; do not assume any artificial tip can be filed freely, particularly near decorated or structured edges.
For a small width mismatch see how to assess an overly wide tip. If it is exposing natural nail or pinching the sides, see signs of a too-narrow tip.
Don’t let sidewall width hide a pressure problem
Even when coverage looks right, the press-on should not squeeze, rock or need firm pressure to settle. If the sides touch but the middle floats, or the middle touches while both sides hover, the crosswise curve could be wrong. Use the complete fit checklist before opening glue.
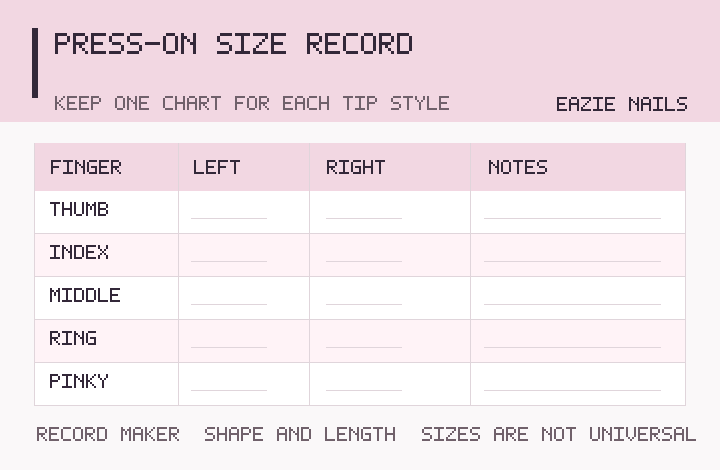
Keep any uncertain result in your ten-finger size record, noting which side did not cover properly and which product you tried. That is more useful than saving a size number that repeatedly fails.
When to stop
Do not bond a tip that presses onto broken or irritated skin, hurts when positioned, or requires force to make it look flush. If you already have a nail or skin problem, consult a qualified clinician rather than covering it with an artificial nail. For general safety, see the American Academy of Dermatology’s manicure guidance.
For the next step, use Find Your Fit to record both hands, then follow the exact manufacturer’s application instructions.
The conversation