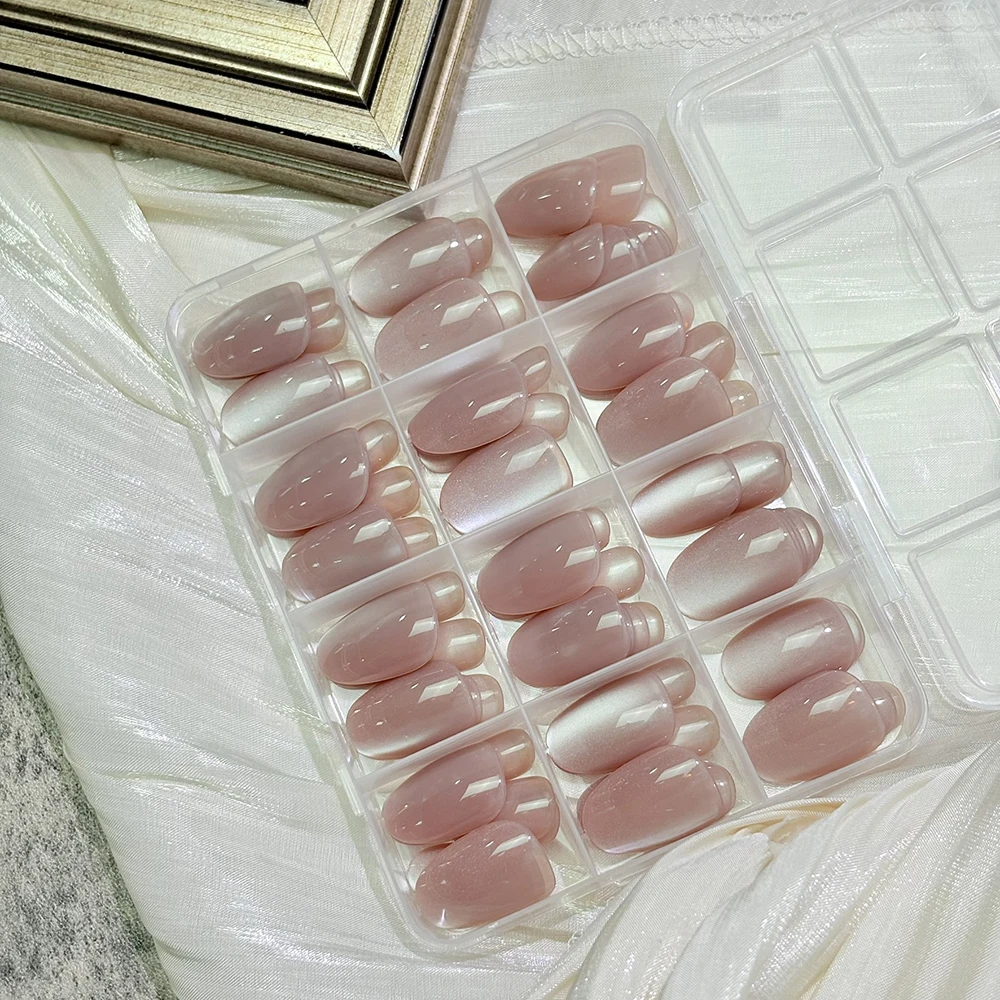
A press-on can be too curved even when its width seems right. A deeply arched tip may touch your natural nail at both side edges while leaving space beneath the middle. If it only sits flush when you squeeze it down, that is a reason to try another profile—not to use extra adhesive.
This guide focuses on recognizing a too-deep crosswise curve before you attach the nail. If you first need the basics of measuring and width, start with how press-on nails should fit.
Look at the loose nail from the fingertip
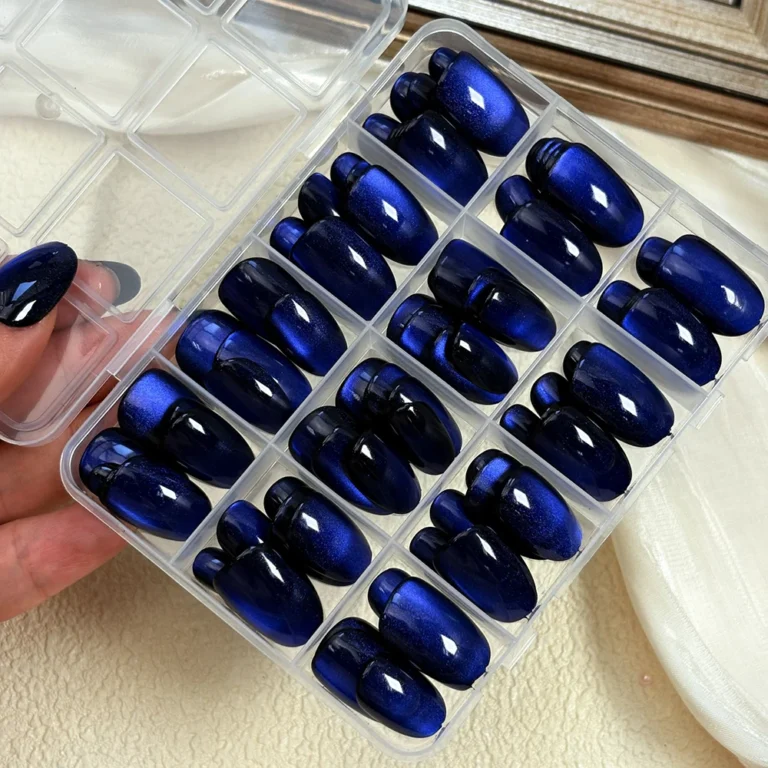
Place the press-on over one clean, dry natural nail with no adhesive, aligned as the product instructions direct. Looking straight down from above, the two side edges may appear to cover the nail neatly. Now turn your hand and look toward the fingertip. If the sides appear close to the nail but the arch over the middle sits noticeably higher, the artificial tip may have a deeper curve than your natural nail.
Some arch under a loose product is not proof by itself of a harmful fit. The useful comparison is whether this particular tip can rest comfortably and predictably against the nail as the maker intends, without clamping it down.
Signs to compare—not just one visual clue
- A central gap: the center is elevated when the side edges are aligned.
- Pressure while pressing: the middle only touches after you press harder than is comfortable.
- Springing back: one edge shifts up when you stop forcing the shell into position.
- Repeated mismatch across adjacent widths: a wider or narrower piece changes coverage but not the basic arch.
Rocking or raised edges can also be caused by placing the tip off-center or by choosing the wrong width. Recenter it and compare at least two neighboring sizes before concluding the curve is the issue. The broader curvature comparison guide covers all of these patterns.
A safe three-part comparison
- Keep the width constant where possible. Try another sample that covers the same natural-nail edges but has a visibly shallower arch.
- Check base alignment. The edge near the cuticle should follow the nail plate without pressing into living skin. Here is how to check that base area.
- Stop if it hurts or must be flattened by force. Try a different tip shape or collection. Do not alter or thin your natural nail to make a plastic tip fit.
Would a bigger tip fix a deep curve?
Not reliably. A wider piece may overlap skin without changing the arch enough to solve the mismatch. A smaller one might pinch the sides. This is why sidewall coverage and curve need separate checks.
| Observation | Next check |
|---|---|
| Sides align but center floats | Compare a shallower tip profile of similar width |
| One natural-nail side remains exposed | Recenter and evaluate width before the curve |
| Both sides float while center touches | Consider whether the tip is too flat instead |
| Comfortable only under firm pressure | Stop the dry fit; seek another tip rather than more glue |
Before using adhesive
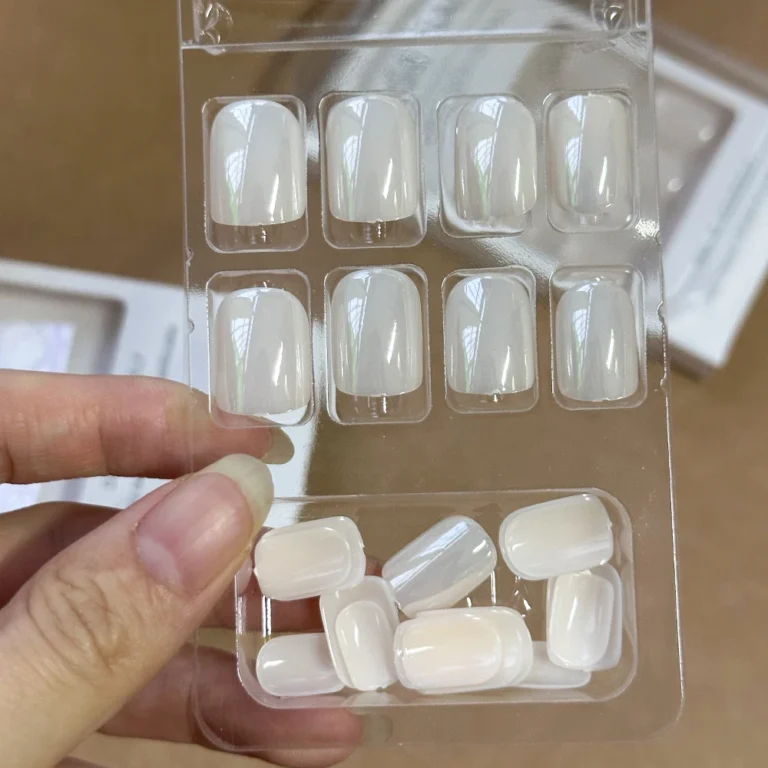
Read the fitting directions for the exact nail and adhesive. Glamnetic’s brand-specific instructions, for example, put fitting before glue application and emphasize edge alignment. Other brands may use different molds and size-number conventions. If you need an exact custom fit, physical sample tips can be more informative than a single overhead photo.
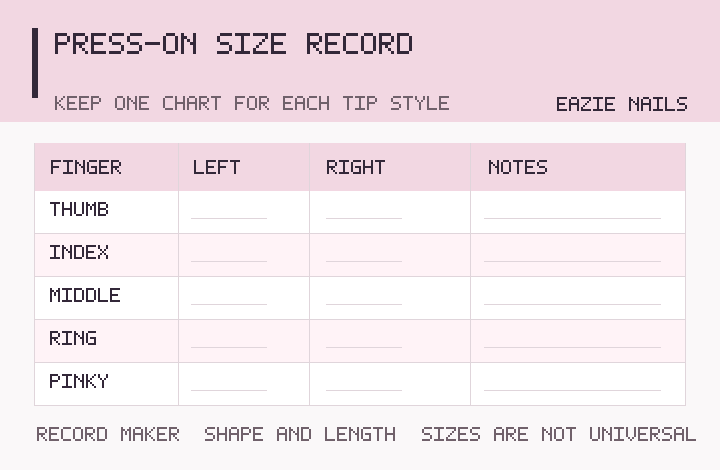
Keep the chosen size or the reason you rejected a piece in your ten-finger notes. That will help the next fitting session without treating one maker’s tip number as universal.
The conversation