Cleaning reusable press-on nails starts with inspection, not scrubbing. After removal, check each artificial nail for cracks, bending, heavy residue or damage to the underside before deciding whether it is worth saving.
Then use a cleaning method that matches the nail material and the adhesive you used. A solvent or scraping method that works on one product can cloud, soften or damage another, so product-specific instructions matter.
1. Remove the press-ons gently first
Do not begin cleanup by prying a nail off the natural nail. Follow the removal directions for the adhesive system and give the bond time to release.
Our guide to removing press-on nails without forcing them off covers the general approach. Adhesive tabs also have their own tab-removal routine.
2. Inspect the artificial nail before cleaning
Look at the free edge, sidewalls, cuticle-area edge and underside. A nail that is split, badly warped or weakened may not be a good candidate for another wear.
Also check the decoration. Loose embellishments, peeling layers or deep scratches can be reasons to retire a piece even if the basic shell is still intact.
3. Identify the residue
Adhesive-tab residue is different from hardened liquid glue or cured gel product. Do not use one aggressive removal method on every type of residue.
If the product instructions provide a specific cleanup method, use it. When they do not, start with the least aggressive approach and avoid forcing residue off with a sharp object.
4. Remove loose dry debris
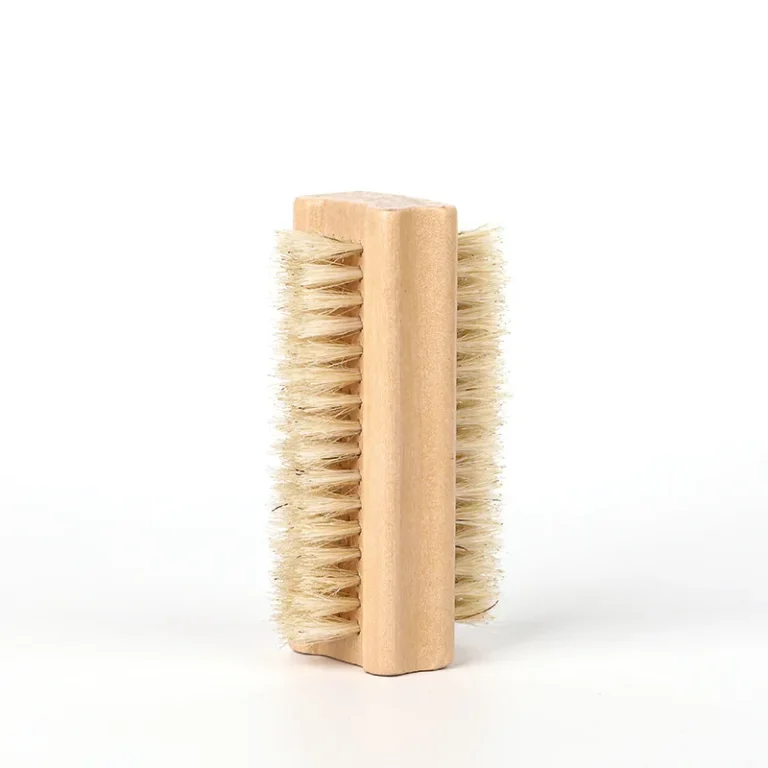
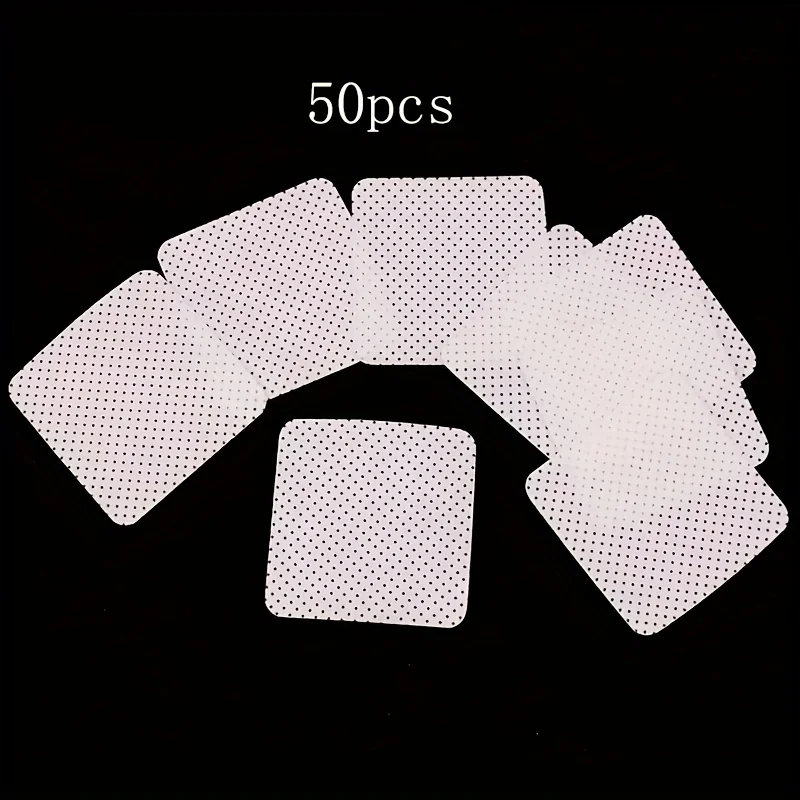
Filing dust, lint or other dry particles can be brushed away before any wet cleaning. A clean, soft nail brush or lint-free wipe is useful for loose debris.
Eazie Nails currently previews Eazie Prep Wipes and the Eazie Dust Brush for prep and cleanup tasks.
5. Be conservative with solvents
Do not assume acetone, alcohol or another solvent is safe for every reusable press-on. Some materials, finishes and printed designs can haze, soften, discolor or lose gloss.
If the nail manufacturer allows a particular product, follow its directions and test conservatively. If compatibility is unknown, do not soak a reusable set simply because a solvent is commonly used elsewhere in nail care.
6. Avoid aggressive scraping
Digging at the underside with a metal edge can gouge the artificial nail, thin the material or create a stress point. If adhesive is not releasing with the recommended method, forcing it off may turn a reusable nail into a damaged one.
Wooden manicure sticks can be useful for gentle detail work when the product instructions allow it. Eazie Nails currently previews Eazie Prep Sticks.
7. Rinse only when the product can be rinsed
If the press-on’s care instructions permit water cleaning, keep the process simple and avoid prolonged soaking unless directed. The decorative surface and any attached embellishments need to tolerate the method too.
Afterward, remove surface water and let every piece dry completely before storage.
8. Dry the underside as carefully as the top
Moisture trapped under a curved press-on is easy to miss. Place the nails where air can reach both sides and do not seal them in a storage case while they are still damp.
Once completely dry, arrange them by finger or size so you do not have to rebuild the set next time.
A reusable-set cleanup check
| Step | Question to ask |
|---|---|
| Inspect | Is the press-on still intact, unwarped and worth saving? |
| Identify | What type of adhesive residue is actually present? |
| Clean | Does the nail manufacturer allow the method or solvent you plan to use? |
| Dry | Are the top and underside completely dry? |
| Organize | Can you find the correct finger and size next time? |
Do not confuse clean with aggressively stripped
The goal is to remove residue that would interfere with the next use while preserving the artificial nail. A perfectly bare underside is not worth damaging the nail to achieve.
Before another wear, inspect the set again and follow the prep directions for the new adhesive application.
Store the set so the cleanup work lasts
Once the nails are clean and completely dry, keep them protected from crushing, loose dust and direct heat. Our guide to storing reusable press-on nails between wears covers organization in more detail.
For the broader decision about whether a set should be worn again, read can you reuse press-on nails?